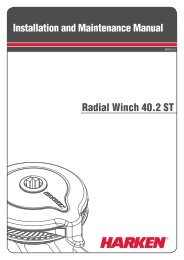
MRW-01_60-2st_EHY.pdf - Harken
MRW-01_60-2st_EHY.pdf - Harken
MRW-01_60-2st_EHY.pdf - Harken

Create successful ePaper yourself
Turn your PDF publications into a flip-book with our unique Google optimized e-Paper software.
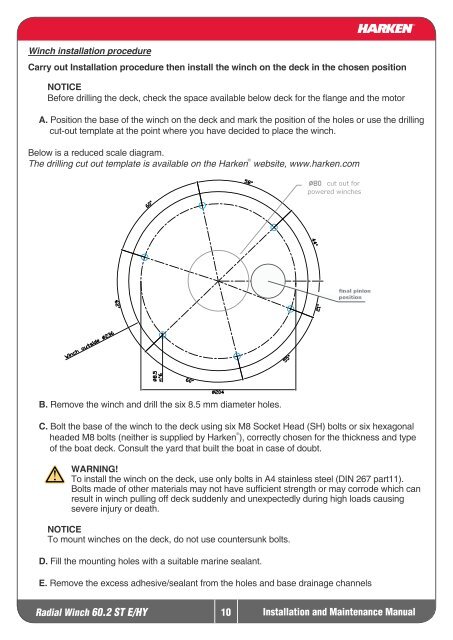
Winch installation procedure<br />
Carry out Installation procedure then install the winch on the deck in the chosen position<br />
NOTICE<br />
Before drilling the deck, check the space available below deck for the flange and the motor<br />
A. Position the base of the winch on the deck and mark the position of the holes or use the drilling<br />
cut-out template at the point where you have decided to place the winch.<br />
Below is a reduced scale diagram.<br />
The drilling cut out template is available on the <strong>Harken</strong> ® website, www.harken.com<br />
B. Remove the winch and drill the six 8.5 mm diameter holes.<br />
C. Bolt the base of the winch to the deck using six M8 Socket Head (SH) bolts or six hexagonal<br />
headed M8 bolts (neither is supplied by <strong>Harken</strong> ® ), correctly chosen for the thickness and type<br />
of the boat deck. Consult the yard that built the boat in case of doubt.<br />
WARNING!<br />
To install the winch on the deck, use only bolts in A4 stainless steel (DIN 267 part11).<br />
Bolts made of other materials may not have sufficient strength or may corrode which can<br />
result in winch pulling off deck suddenly and unexpectedly during high loads causing<br />
severe injury or death.<br />
NOTICE<br />
To mount winches on the deck, do not use countersunk bolts.<br />
D. Fill the mounting holes with a suitable marine sealant.<br />
E. Remove the excess adhesive/sealant from the holes and base drainage channels<br />
Radial Winch <strong>60</strong>.2 ST E/HY<br />
10<br />
Installation and Maintenance Manual