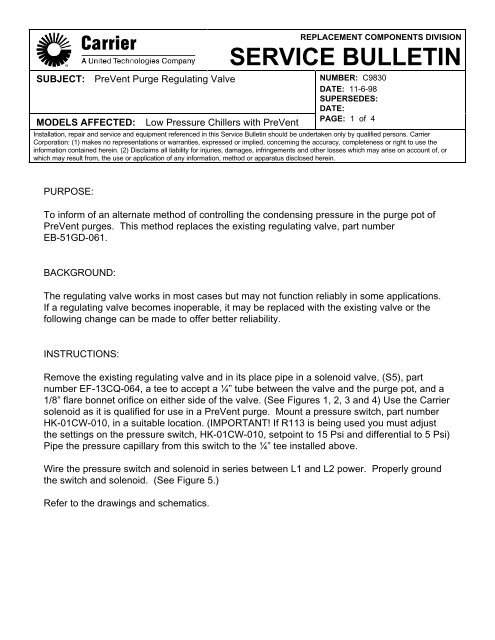
SERVICE BULLETIN - Carrier
SERVICE BULLETIN - Carrier
SERVICE BULLETIN - Carrier

You also want an ePaper? Increase the reach of your titles
YUMPU automatically turns print PDFs into web optimized ePapers that Google loves.
REPLACEMENT COMPONENTS DIVISION<br />
<strong>SERVICE</strong> <strong>BULLETIN</strong><br />
SUBJECT: PreVent Purge Regulating Valve NUMBER: C9830<br />
DATE: 11-6-98<br />
SUPERSEDES:<br />
DATE:<br />
MODELS AFFECTED: Low Pressure Chillers with PreVent<br />
PAGE: 1 of 4<br />
Installation, repair and service and equipment referenced in this Service Bulletin should be undertaken only by qualified persons. <strong>Carrier</strong><br />
Corporation: (1) makes no representations or warranties, expressed or implied, concerning the accuracy, completeness or right to use the<br />
information contained herein. (2) Disclaims all liability for injuries, damages, infringements and other losses which may arise on account of, or<br />
which may result from, the use or application of any information, method or apparatus disclosed herein.<br />
PURPOSE:<br />
To inform of an alternate method of controlling the condensing pressure in the purge pot of<br />
PreVent purges. This method replaces the existing regulating valve, part number<br />
EB-51GD-061.<br />
BACKGROUND:<br />
The regulating valve works in most cases but may not function reliably in some applications.<br />
If a regulating valve becomes inoperable, it may be replaced with the existing valve or the<br />
following change can be made to offer better reliability.<br />
INSTRUCTIONS:<br />
Remove the existing regulating valve and in its place pipe in a solenoid valve, (S5), part<br />
number EF-13CQ-064, a tee to accept a ¼” tube between the valve and the purge pot, and a<br />
1/8” flare bonnet orifice on either side of the valve. (See Figures 1, 2, 3 and 4) Use the <strong>Carrier</strong><br />
solenoid as it is qualified for use in a PreVent purge. Mount a pressure switch, part number<br />
HK-01CW-010, in a suitable location. (IMPORTANT! If R113 is being used you must adjust<br />
the settings on the pressure switch, HK-01CW-010, setpoint to 15 Psi and differential to 5 Psi)<br />
Pipe the pressure capillary from this switch to the ¼” tee installed above.<br />
Wire the pressure switch and solenoid in series between L1 and L2 power. Properly ground<br />
the switch and solenoid. (See Figure 5.)<br />
Refer to the drawings and schematics.
REPLACEMENT COMPONENTS DIVISION<br />
<strong>SERVICE</strong> <strong>BULLETIN</strong><br />
<strong>BULLETIN</strong> NUMBER: C9830<br />
Page: 2 of 4<br />
FIGURE 1<br />
(Flow Schematic)
REPLACEMENT COMPONENTS DIVISION<br />
<strong>SERVICE</strong> <strong>BULLETIN</strong><br />
<strong>BULLETIN</strong> NUMBER: C9830<br />
Page: 3 of 4<br />
FIGURE 2<br />
(End View)<br />
FIGURE 3<br />
(Side View)
REPLACEMENT COMPONENTS DIVISION<br />
<strong>SERVICE</strong> <strong>BULLETIN</strong><br />
<strong>BULLETIN</strong> NUMBER: C9830<br />
Page: 4 of 4<br />
FIGURE 4<br />
(Top View)<br />
FIGURE 5<br />
(Electrical Schematic)