NI myDAQ User Guide and Specifications
NI myDAQ User Guide and Specifications
NI myDAQ User Guide and Specifications

You also want an ePaper? Increase the reach of your titles
YUMPU automatically turns print PDFs into web optimized ePapers that Google loves.
Using <strong>NI</strong>-DAQmx with <strong>NI</strong> <strong>myDAQ</strong><br />
<strong>NI</strong> <strong>myDAQ</strong> is supported by <strong>NI</strong>-DAQmx, <strong>and</strong> therefore you can program it<br />
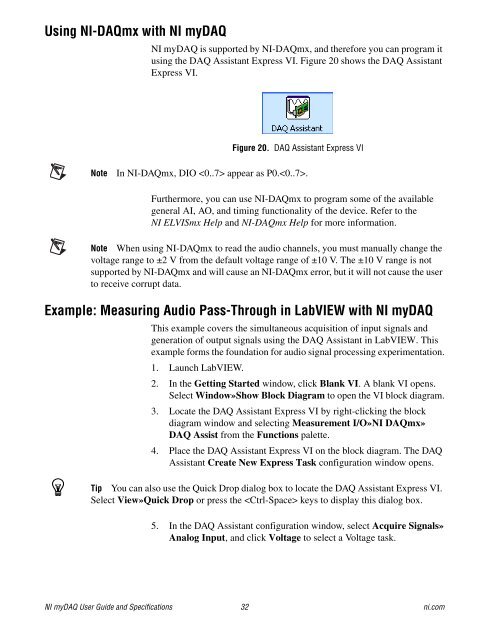
using the DAQ Assistant Express VI. Figure 20 shows the DAQ Assistant<br />
Express VI.<br />
Figure 20. DAQ Assistant Express VI<br />
Note<br />
In <strong>NI</strong>-DAQmx, DIO appear as P0..<br />
Furthermore, you can use <strong>NI</strong>-DAQmx to program some of the available<br />
general AI, AO, <strong>and</strong> timing functionality of the device. Refer to the<br />
<strong>NI</strong> ELVISmx Help <strong>and</strong> <strong>NI</strong>-DAQmx Help for more information.<br />
Note When using <strong>NI</strong>-DAQmx to read the audio channels, you must manually change the<br />
voltage range to ±2 V from the default voltage range of ±10 V. The ±10 V range is not<br />
supported by <strong>NI</strong>-DAQmx <strong>and</strong> will cause an <strong>NI</strong>-DAQmx error, but it will not cause the user<br />
to receive corrupt data.<br />
Example: Measuring Audio Pass-Through in LabVIEW with <strong>NI</strong> <strong>myDAQ</strong><br />
This example covers the simultaneous acquisition of input signals <strong>and</strong><br />
generation of output signals using the DAQ Assistant in LabVIEW. This<br />
example forms the foundation for audio signal processing experimentation.<br />
1. Launch LabVIEW.<br />
2. In the Getting Started window, click Blank VI. A blank VI opens.<br />
Select Window»Show Block Diagram to open the VI block diagram.<br />
3. Locate the DAQ Assistant Express VI by right-clicking the block<br />
diagram window <strong>and</strong> selecting Measurement I/O»<strong>NI</strong> DAQmx»<br />
DAQ Assist from the Functions palette.<br />
4. Place the DAQ Assistant Express VI on the block diagram. The DAQ<br />
Assistant Create New Express Task configuration window opens.<br />
Tip You can also use the Quick Drop dialog box to locate the DAQ Assistant Express VI.<br />
Select View»Quick Drop or press the keys to display this dialog box.<br />
5. In the DAQ Assistant configuration window, select Acquire Signals»<br />
Analog Input, <strong>and</strong> click Voltage to select a Voltage task.<br />
<strong>NI</strong> <strong>myDAQ</strong> <strong>User</strong> <strong>Guide</strong> <strong>and</strong> <strong>Specifications</strong> 32 ni.com