SRB5600.pdf1687 KBytes - Frogkick.dk
SRB5600.pdf1687 KBytes - Frogkick.dk
SRB5600.pdf1687 KBytes - Frogkick.dk
Create successful ePaper yourself
Turn your PDF publications into a flip-book with our unique Google optimized e-Paper software.
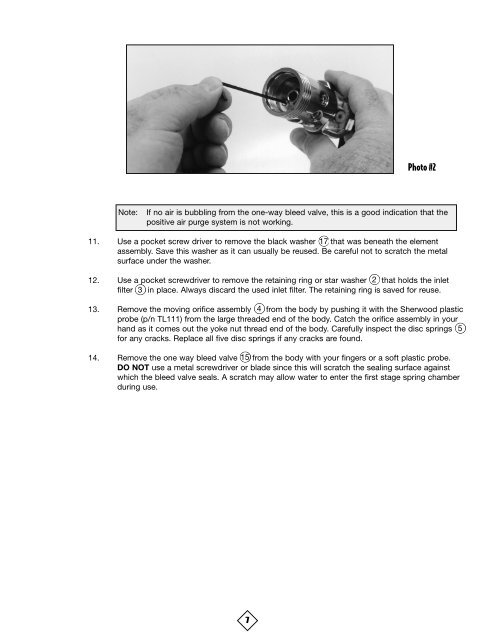
Photo #2<br />
Note:<br />
If no air is bubbling from the one-way bleed valve, this is a good indication that the<br />
positive air purge system is not working.<br />
11. Use a pocket screw driver to remove the black washer 17 that was beneath the element<br />
assembly. Save this washer as it can usually be reused. Be careful not to scratch the metal<br />
surface under the washer.<br />
12. Use a pocket screwdriver to remove the retaining ring or star washer 2 that holds the inlet<br />
filter 3 in place. Always discard the used inlet filter. The retaining ring is saved for reuse.<br />
13. Remove the moving orifice assembly 4 from the body by pushing it with the Sherwood plastic<br />
probe (p/n TL111) from the large threaded end of the body. Catch the orifice assembly in your<br />
hand as it comes out the yoke nut thread end of the body. Carefully inspect the disc springs 5<br />
for any cracks. Replace all five disc springs if any cracks are found.<br />
14. Remove the one way bleed valve 15 from the body with your fingers or a soft plastic probe.<br />
DO NOT use a metal screwdriver or blade since this will scratch the sealing surface against<br />
which the bleed valve seals. A scratch may allow water to enter the first stage spring chamber<br />
during use.<br />
7


