Ropes & Knots.pdf - Los Angeles County Firefighters Association
Ropes & Knots.pdf - Los Angeles County Firefighters Association
Ropes & Knots.pdf - Los Angeles County Firefighters Association
Create successful ePaper yourself
Turn your PDF publications into a flip-book with our unique Google optimized e-Paper software.
24<br />
LOS ANGELES COUNTY FIRE DEPARTMENT<br />
CONTEXT TRAINING PROGRAM<br />
STRETCHER LASHING<br />
GENERAL INFORMATION<br />
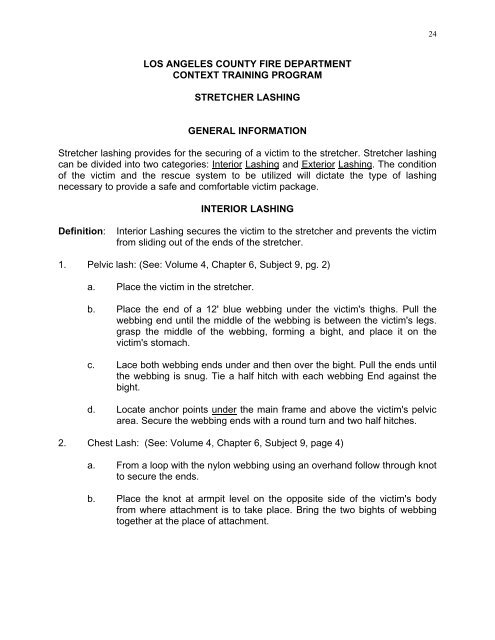
Stretcher lashing provides for the securing of a victim to the stretcher. Stretcher lashing<br />
can be divided into two categories: Interior Lashing and Exterior Lashing. The condition<br />
of the victim and the rescue system to be utilized will dictate the type of lashing<br />
necessary to provide a safe and comfortable victim package.<br />
INTERIOR LASHING<br />
Definition:<br />
Interior Lashing secures the victim to the stretcher and prevents the victim<br />
from sliding out of the ends of the stretcher.<br />
1. Pelvic lash: (See: Volume 4, Chapter 6, Subject 9, pg. 2)<br />
a. Place the victim in the stretcher.<br />
b. Place the end of a 12' blue webbing under the victim's thighs. Pull the<br />
webbing end until the middle of the webbing is between the victim's legs.<br />
grasp the middle of the webbing, forming a bight, and place it on the<br />
victim's stomach.<br />
c. Lace both webbing ends under and then over the bight. Pull the ends until<br />
the webbing is snug. Tie a half hitch with each webbing End against the<br />
bight.<br />
d. Locate anchor points under the main frame and above the victim's pelvic<br />
area. Secure the webbing ends with a round turn and two half hitches.<br />
2. Chest Lash: (See: Volume 4, Chapter 6, Subject 9, page 4)<br />
a. From a loop with the nylon webbing using an overhand follow through knot<br />
to secure the ends.<br />
b. Place the knot at armpit level on the opposite side of the victim's body<br />
from where attachment is to take place. Bring the two bights of webbing<br />
together at the place of attachment.


