USB CONNECTION GUIDE - RFID Webshop
USB CONNECTION GUIDE - RFID Webshop
USB CONNECTION GUIDE - RFID Webshop

You also want an ePaper? Increase the reach of your titles
YUMPU automatically turns print PDFs into web optimized ePapers that Google loves.
TAGnology <strong>RFID</strong> GmbH | Grazer Vorstadt 142 | 8570 Voitsberg | AUSTRIA<br />
phone: +43 (0)3142/28 9 28-10 | fax: +43 (0)3142/28 9 28-20 | office@tagnology.com | www.tagnology.com<br />
The driver installation procedure is as follows:<br />
3. WINDOWS CONFIGURATION<br />
The new serial port has to be configured in WINDOWS either as COM1 or COM2. To do<br />
that, follow the procedure:<br />
a.-<br />
Connect the RTS200 through the <strong>USB</strong> serial port to the computer<br />
b1.- If windows recognizes the new hardware, a message will appear with a text<br />
similar to “your new hardware is ready to be used”.<br />
b2.- If windows does not recognize the device, it will ask for a driver. You´ll have<br />
to select the Driver folder in the supplied CDROM.<br />
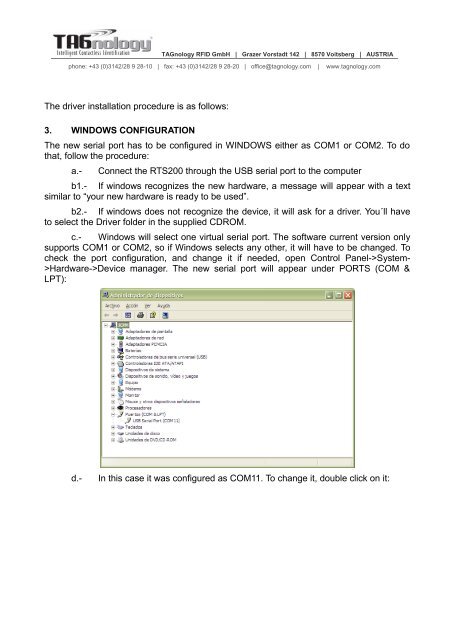
c.- Windows will select one virtual serial port. The software current version only<br />
supports COM1 or COM2, so if Windows selects any other, it will have to be changed. To<br />
check the port configuration, and change it if needed, open Control Panel->System-<br />
>Hardware->Device manager. The new serial port will appear under PORTS (COM &<br />
LPT):<br />
d.-<br />
In this case it was configured as COM11. To change it, double click on it: