Teaching Elements and Principles of Bridge Design - International ...
Teaching Elements and Principles of Bridge Design - International ...
Teaching Elements and Principles of Bridge Design - International ...

You also want an ePaper? Increase the reach of your titles
YUMPU automatically turns print PDFs into web optimized ePapers that Google loves.
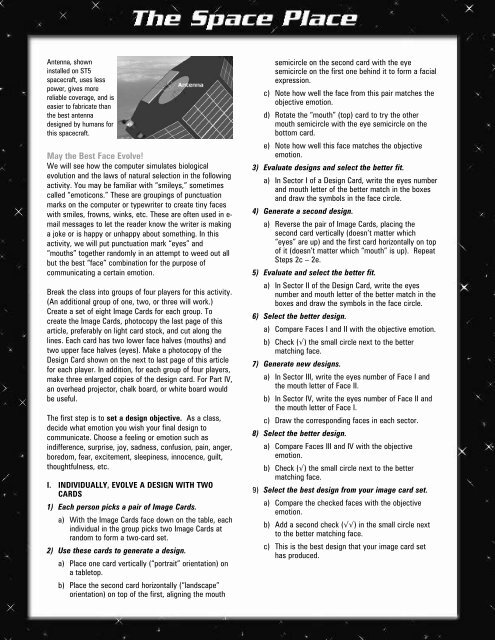
Antenna, shown<br />
installed on ST5<br />
spacecraft, uses less<br />
power, gives more<br />
reliable coverage, <strong>and</strong> is<br />
easier to fabricate than<br />
the best antenna<br />
designed by humans for<br />
this spacecraft.<br />
May the Best Face Evolve!<br />
We will see how the computer simulates biological<br />
evolution <strong>and</strong> the laws <strong>of</strong> natural selection in the following<br />
activity. You may be familiar with “smileys,” sometimes<br />
called “emoticons.” These are groupings <strong>of</strong> punctuation<br />
marks on the computer or typewriter to create tiny faces<br />
with smiles, frowns, winks, etc. These are <strong>of</strong>ten used in e-<br />
mail messages to let the reader know the writer is making<br />
a joke or is happy or unhappy about something. In this<br />
activity, we will put punctuation mark “eyes” <strong>and</strong><br />
“mouths” together r<strong>and</strong>omly in an attempt to weed out all<br />
but the best “face” combination for the purpose <strong>of</strong><br />
communicating a certain emotion.<br />
Break the class into groups <strong>of</strong> four players for this activity.<br />
(An additional group <strong>of</strong> one, two, or three will work.)<br />
Create a set <strong>of</strong> eight Image Cards for each group. To<br />
create the Image Cards, photocopy the last page <strong>of</strong> this<br />
article, preferably on light card stock, <strong>and</strong> cut along the<br />
lines. Each card has two lower face halves (mouths) <strong>and</strong><br />
two upper face halves (eyes). Make a photocopy <strong>of</strong> the<br />
<strong>Design</strong> Card shown on the next to last page <strong>of</strong> this article<br />
for each player. In addition, for each group <strong>of</strong> four players,<br />
make three enlarged copies <strong>of</strong> the design card. For Part IV,<br />
an overhead projector, chalk board, or white board would<br />
be useful.<br />
The first step is to set a design objective. As a class,<br />
decide what emotion you wish your final design to<br />
communicate. Choose a feeling or emotion such as<br />
indifference, surprise, joy, sadness, confusion, pain, anger,<br />
boredom, fear, excitement, sleepiness, innocence, guilt,<br />
thoughtfulness, etc.<br />
I. INDIVIDUALLY, EVOLVE A DESIGN WITH TWO<br />
CARDS<br />
1) Each person picks a pair <strong>of</strong> Image Cards.<br />
a) With the Image Cards face down on the table, each<br />
individual in the group picks two Image Cards at<br />
r<strong>and</strong>om to form a two-card set.<br />
2) Use these cards to generate a design.<br />
a) Place one card vertically (“portrait” orientation) on<br />
a tabletop.<br />
b) Place the second card horizontally (“l<strong>and</strong>scape”<br />
orientation) on top <strong>of</strong> the first, aligning the mouth<br />
semicircle on the second card with the eye<br />
semicircle on the first one behind it to form a facial<br />
expression.<br />
c) Note how well the face from this pair matches the<br />
objective emotion.<br />
d) Rotate the “mouth” (top) card to try the other<br />
mouth semicircle with the eye semicircle on the<br />
bottom card.<br />
e) Note how well this face matches the objective<br />
emotion.<br />
3) Evaluate designs <strong>and</strong> select the better fit.<br />
a) In Sector I <strong>of</strong> a <strong>Design</strong> Card, write the eyes number<br />
<strong>and</strong> mouth letter <strong>of</strong> the better match in the boxes<br />
<strong>and</strong> draw the symbols in the face circle.<br />
4) Generate a second design.<br />
a) Reverse the pair <strong>of</strong> Image Cards, placing the<br />
second card vertically (doesn’t matter which<br />
“eyes” are up) <strong>and</strong> the first card horizontally on top<br />
<strong>of</strong> it (doesn’t matter which “mouth” is up). Repeat<br />
Steps 2c – 2e.<br />
5) Evaluate <strong>and</strong> select the better fit.<br />
a) In Sector II <strong>of</strong> the <strong>Design</strong> Card, write the eyes<br />
number <strong>and</strong> mouth letter <strong>of</strong> the better match in the<br />
boxes <strong>and</strong> draw the symbols in the face circle.<br />
6) Select the better design.<br />
a) Compare Faces I <strong>and</strong> II with the objective emotion.<br />
b) Check (√) the small circle next to the better<br />
matching face.<br />
7) Generate new designs.<br />
a) In Sector III, write the eyes number <strong>of</strong> Face I <strong>and</strong><br />
the mouth letter <strong>of</strong> Face II.<br />
b) In Sector IV, write the eyes number <strong>of</strong> Face II <strong>and</strong><br />
the mouth letter <strong>of</strong> Face I.<br />
c) Draw the corresponding faces in each sector.<br />
8) Select the better design.<br />
a) Compare Faces III <strong>and</strong> IV with the objective<br />
emotion.<br />
b) Check (√) the small circle next to the better<br />
matching face.<br />
9) Select the best design from your image card set.<br />
a) Compare the checked faces with the objective<br />
emotion.<br />
b) Add a second check (√√) in the small circle next<br />
to the better matching face.<br />
c) This is the best design that your image card set<br />
has produced.