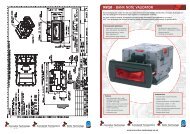
Smart Hopper / 915kB - KapiLajos.hu
Smart Hopper / 915kB - KapiLajos.hu
Smart Hopper / 915kB - KapiLajos.hu

You also want an ePaper? Increase the reach of your titles
YUMPU automatically turns print PDFs into web optimized ePapers that Google loves.
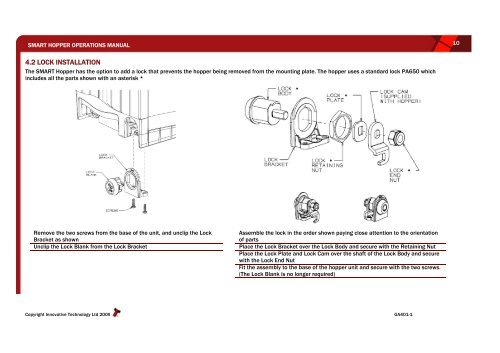
SMART HOPPER OPERATIONS MANUAL 10<br />
4.2 LOCK INSTALLATION<br />
The SMART <strong>Hopper</strong> has the option to add a lock that prevents the hopper being removed from the mounting plate. The hopper uses a standard lock PA650 which<br />
includes all the parts shown with an asterisk *<br />
Remove the two screws from the base of the unit, and unclip the Lock<br />
Bracket as shown<br />
Assemble the lock in the order shown paying close attention to the orientation<br />
of parts<br />
Unclip the Lock Blank from the Lock Bracket Place the Lock Bracket over the Lock Body and secure with the Retaining Nut<br />
Place the Lock Plate and Lock Cam over the shaft of the Lock Body and secure<br />
with the Lock End Nut<br />
Fit the assembly to the base of the hopper unit and secure with the two screws.<br />
(The Lock Blank is no longer required)<br />
Copyright Innovative Technology Ltd 2009<br />
GA401-1