Beosound 3000 Type 2671-2680 .pdf - abo - center
Beosound 3000 Type 2671-2680 .pdf - abo - center
Beosound 3000 Type 2671-2680 .pdf - abo - center
You also want an ePaper? Increase the reach of your titles
YUMPU automatically turns print PDFs into web optimized ePapers that Google loves.
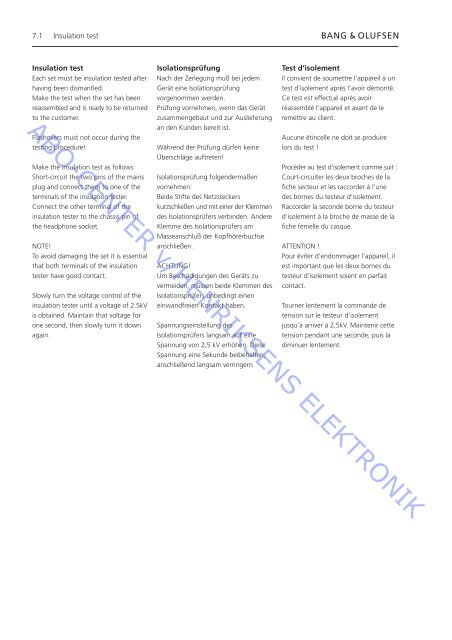
7.1 Insulation test<br />
Insulation test<br />
Each set must be insulation tested after<br />
having been dismantled.<br />
Make the test when the set has been<br />
reassembled and is ready to be returned<br />
to the customer.<br />
Flashovers must not occur during the<br />
testing procedure!<br />
Make the insulation test as follows:<br />
Short-circuit the two pins of the mains<br />
plug and connect them to one of the<br />
terminals of the insulation tester.<br />
Connect the other terminal of the<br />
insulation tester to the chassis pin of<br />
the headphone socket.<br />
NOTE!<br />
To avoid damaging the set it is essential<br />
that both terminals of the insulation<br />
tester have good contact.<br />
Slowly turn the voltage control of the<br />
insulation tester until a voltage of 2.5kV<br />
is obtained. Maintain that voltage for<br />
one second, then slowly turn it down<br />
again.<br />
Isolationsprüfung<br />
Nach der Zerlegung muß bei jedem<br />
Gerät eine Isolationsprüfung<br />
vorgenommen werden.<br />
Prüfung vornehmen, wenn das Gerät<br />
zusammengebaut und zur Auslieferung<br />
an den Kunden bereit ist.<br />
Während der Prüfung dürfen keine<br />
Überschläge auftreten!<br />
Isolationsprüfung folgendermaßen<br />
vornehmen:<br />
Beide Stifte des Netzsteckers<br />
kurzschließen und mit einer der Klemmen<br />
des Isolationsprüfers verbinden. Andere<br />
Klemme des Isolationsprüfers am<br />
Masseanschluß der Kopfhörerbuchse<br />
anschließen.<br />
ACHTUNG!<br />
Um Beschädigungen des Geräts zu<br />
vermeiden, müssen beide Klemmen des<br />
Isolationsprüfers unbedingt einen<br />
einwandfreien Kontakt haben.<br />
Spannungseinstellung des<br />
Isolationsprüfers langsam auf eine<br />
Spannung von 2,5 kV erhöhen. Diese<br />
Spannung eine Sekunde beibehalten,<br />
anschließend langsam verringern.<br />
Test d’isolement<br />
Il convient de soumettre l’appareil à un<br />
test d’isolement après l’avoir démonté.<br />
Ce test est effectué après avoir<br />
réassemblé l’appareil et avant de le<br />
remettre au client.<br />
Aucune étincelle ne doit se produire<br />
lors du test !<br />
Procéder au test d’isolement comme suit :<br />
Court-circuiter les deux broches de la<br />
fiche secteur et les raccorder à l’une<br />
des bornes du testeur d’isolement.<br />
Raccorder la seconde borne du testeur<br />
d’isolement à la broche de masse de la<br />
fiche femelle du casque.<br />
ATTENTION !<br />
Pour éviter d’endommager l’appareil, il<br />
est important que les deux bornes du<br />
testeur d’isolement soient en parfait<br />
contact.<br />
Tourner lentement la commande de<br />
tension sur le testeur d’isolement<br />
jusqu’à arriver à 2,5kV. Maintenir cette<br />
tension pendant une seconde, puis la<br />
diminuer lentement.<br />
ABO-CENTER v/HENRIKSENS ELEKTRONIK


