
Create successful ePaper yourself
Turn your PDF publications into a flip-book with our unique Google optimized e-Paper software.
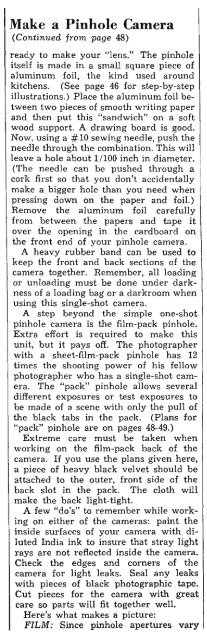
Make a Pinhole Camera<br />
(Continued jrompage 48)<br />
ready to make your "lens." The pinhole<br />
itself is made in a small square piece of<br />
aluminum foil, the kind used around<br />
kitchens. (See page 46 for step-by-step<br />
illustrations.) Place the aluminum foil between<br />
two pieces of smooth writing paper<br />
and then put this "sandwich" on a soft<br />
wood support. A drawing board is good.<br />
Now, using a #10 sewing needle, push the<br />
needle through the combination. This will<br />
leave a hole about 1/100 inch in diameter.<br />
(The needle can be pushed through a<br />
cork first so that you don't accidentally<br />
make a bigger hole than you need when<br />
pressing down on the paper and foil.)<br />
Remove the aluminum foil carefully<br />
from between the papers and tape it<br />
over the opening in the cardboard on<br />
the front end of your pinhole camera.<br />
A heavy rubber band can be used to<br />
keep the front and back sections of the<br />
camera together. Remember, all loading<br />
or unloading must be done under darkness<br />
of a loading bag or a darkroom when<br />
using this single-shot camera.<br />
A step beyond the simple one-shot<br />
pinhole camera is the film-pack pinhole.<br />
Extra effort is required to make this<br />
unit, but it pays off. The photographer<br />
with a sheet-film-pack pinhole has 12<br />
times the shooting power of his fellow<br />
photographer who has a single-shot camera.<br />
The "pack" pinhole allows several<br />
different exposures or test exposures to<br />
be made of a scene with only the pull of<br />
the black tabs in the pack. (Plans for<br />
"pack" pinhole are on pages 48-49.)<br />
Extreme care must be taken when<br />
working on the film-pack back of the<br />
camera. If you use the plans given here,<br />
a piece of heavy black velvet should be<br />
attached to the outer, front side of the<br />
back slot in the pack. The cloth will<br />
make the back light-tight.<br />
A few "do's" to remember while working<br />
on either of the cameras: paint the<br />
inside surfaces of your camera with diluted<br />
India ink to insure that stray light<br />
rays are not reflected inside the camera.<br />
Check the edges and corners of the<br />
camera for light leaks. Seal any leaks<br />
with pieces of black photographic tape.<br />
Cut pieces for the camera with great<br />
care so parts will fit together well.<br />
Here's what makes a picture:<br />
FILM: Since pinhole apertures vary