User guide - Optagelse.dk
User guide - Optagelse.dk
User guide - Optagelse.dk

You also want an ePaper? Increase the reach of your titles
YUMPU automatically turns print PDFs into web optimized ePapers that Google loves.
2.1 Getting started<br />
Please note<br />
These <strong>guide</strong>lines are intended for applicants without a Danish CPR number only. If<br />
you have a Danish CPR number, and are therefore eligible for a NemID or Digital<br />
Signatur, then you should choose Yes and read the <strong>guide</strong>lines for applicants with a<br />
Danish CPR number instead.<br />
Applying for admission without a NemID for applicants with a Danish CPR number<br />
If you do not have a NemID, and you are not apple to receive a NemID before the<br />
application deadline, it is also a possibility to make a profile at <strong>Optagelse</strong>.<strong>dk</strong> without<br />
a NemID. If you choose to use <strong>Optagelse</strong>.<strong>dk</strong> without NemID, please be aware that<br />
you have to provide <strong>Optagelse</strong>.<strong>dk</strong> with all your personal information and documentation.<br />
<strong>Optagelse</strong>.<strong>dk</strong> cannot find information about your address based on your Danish<br />
CPR number. <strong>Optagelse</strong>.<strong>dk</strong> cannot find information about your entry qualifications<br />
in the Danish Eksamensdatabasen.<br />
You have to upload all documentation in PDF format. Please be aware that an application<br />
without NemID can only be finished by printing a signature page that you<br />
have to sign and send or hand in in person at the educational institution before the<br />
application deadline. You have to sign and send a signature page for each education<br />
programme that you want to apply for. If you do have a Danish CPR number, but<br />
want to apply without using NemID, you have to login at this page. If you create a<br />
profile without NemID (step 4), you have to give your e-mail address and your CPR<br />
number. Apart from that, the steps are the same as in these <strong>guide</strong>lines.<br />
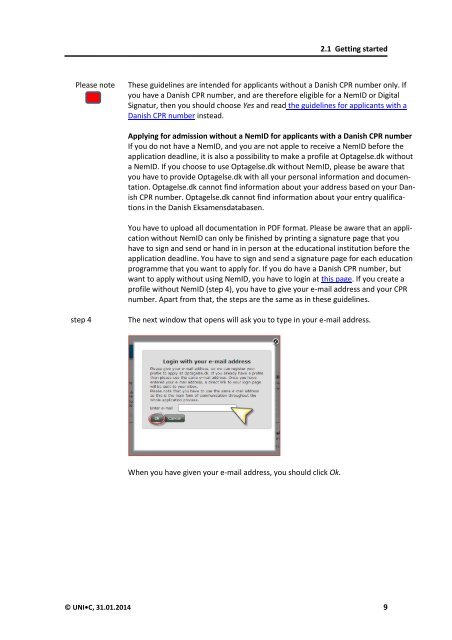
step 4<br />
The next window that opens will ask you to type in your e-mail address.<br />
When you have given your e-mail address, you should click Ok.<br />
© UNI•C, 31.01.2014 9