WebExp2 Experimenter's Manual - School of Informatics - University ...
WebExp2 Experimenter's Manual - School of Informatics - University ...
WebExp2 Experimenter's Manual - School of Informatics - University ...
Create successful ePaper yourself
Turn your PDF publications into a flip-book with our unique Google optimized e-Paper software.
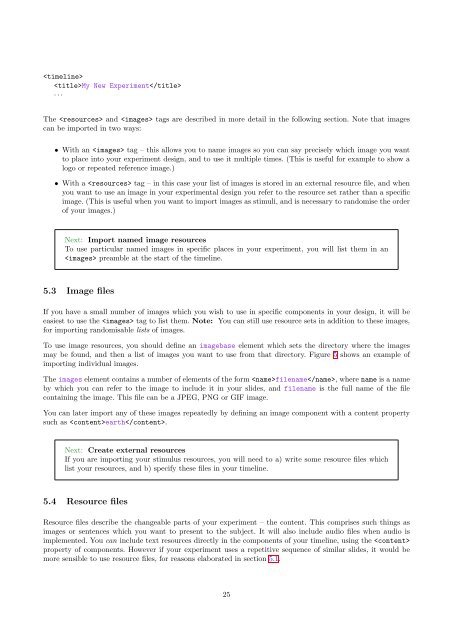
My New Experiment<br />
· · ·<br />
The and tags are described in more detail in the following section. Note that images<br />
can be imported in two ways:<br />
• With an tag – this allows you to name images so you can say precisely which image you want<br />
to place into your experiment design, and to use it multiple times. (This is useful for example to show a<br />
logo or repeated reference image.)<br />
• With a tag – in this case your list <strong>of</strong> images is stored in an external resource file, and when<br />
you want to use an image in your experimental design you refer to the resource set rather than a specific<br />
image. (This is useful when you want to import images as stimuli, and is necessary to randomise the order<br />
<strong>of</strong> your images.)<br />
Next: Import named image resources<br />
To use particular named images in specific places in your experiment, you will list them in an<br />
preamble at the start <strong>of</strong> the timeline.<br />
5.3 Image files<br />
If you have a small number <strong>of</strong> images which you wish to use in specific components in your design, it will be<br />
easiest to use the tag to list them. Note: You can still use resource sets in addition to these images,<br />
for importing randomisable lists <strong>of</strong> images.<br />
To use image resources, you should define an imagebase element which sets the directory where the images<br />
may be found, and then a list <strong>of</strong> images you want to use from that directory. Figure 5 shows an example <strong>of</strong><br />
importing individual images.<br />
The images element contains a number <strong>of</strong> elements <strong>of</strong> the form filename, where name is a name<br />
by which you can refer to the image to include it in your slides, and filename is the full name <strong>of</strong> the file<br />
containing the image. This file can be a JPEG, PNG or GIF image.<br />
You can later import any <strong>of</strong> these images repeatedly by defining an image component with a content property<br />
such as earth.<br />
Next: Create external resources<br />
If you are importing your stimulus resources, you will need to a) write some resource files which<br />
list your resources, and b) specify these files in your timeline.<br />
5.4 Resource files<br />
Resource files describe the changeable parts <strong>of</strong> your experiment – the content. This comprises such things as<br />
images or sentences which you want to present to the subject. It will also include audio files when audio is<br />
implemented. You can include text resources directly in the components <strong>of</strong> your timeline, using the <br />
property <strong>of</strong> components. However if your experiment uses a repetitive sequence <strong>of</strong> similar slides, it would be<br />
more sensible to use resource files, for reasons elaborated in section 5.1.<br />
25


