TT INTEGRABLE GAR final GB - Vintec and Transtherm
TT INTEGRABLE GAR final GB - Vintec and Transtherm
TT INTEGRABLE GAR final GB - Vintec and Transtherm

You also want an ePaper? Increase the reach of your titles
YUMPU automatically turns print PDFs into web optimized ePapers that Google loves.
<strong>TT</strong> <strong>INTEGRABLE</strong> <strong>GAR</strong> <strong>final</strong> <strong>GB</strong> 1/10/01 13:56 Page 5<br />
Installing your wine cabinet<br />
When unpacking your cabinet, make sure that there are no traces of impact or<br />
other damage <strong>and</strong> that there are no surface defects.<br />
Carefully remove all of the protections <strong>and</strong> adhesive strips from the packaging<br />
around your wine cabinet.<br />
Move your cabinet to its <strong>final</strong> location.<br />
ecommendation<br />
The place you have selected for your cabinet should:<br />
1 - Be ventilated<br />
2 - Enable air to pass between the wall <strong>and</strong> the back of the cabinet<br />
3 - Be well away from any heat source<br />
4 - Not be too damp (laundry, pantry, bathroom, etc.)<br />
5 - Have a solid <strong>and</strong> flat floor<br />
6 - Have a st<strong>and</strong>ard <strong>and</strong> accessible electricity supply (st<strong>and</strong>ard socket to<br />
country st<strong>and</strong>ards, linked to ground).<br />
important<br />
In order for you to level off your cabinet as easily as possible, it is equipped<br />
with 4 adjustable feet. However, we do recommend that you tighten the<br />
back feet to the maximum <strong>and</strong> use the front feet to create a level (a spirit<br />
level is recommended for this operation).<br />
important<br />
WAIT 48 HOURS BEFORE PLUGGING IN THE CABINET<br />
Should you need to move your cabinet, never tilt it more than 45° <strong>and</strong> always<br />
sideways, on the side that the electrical cable comes out.<br />
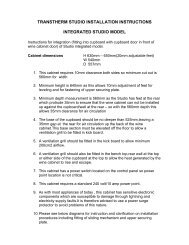
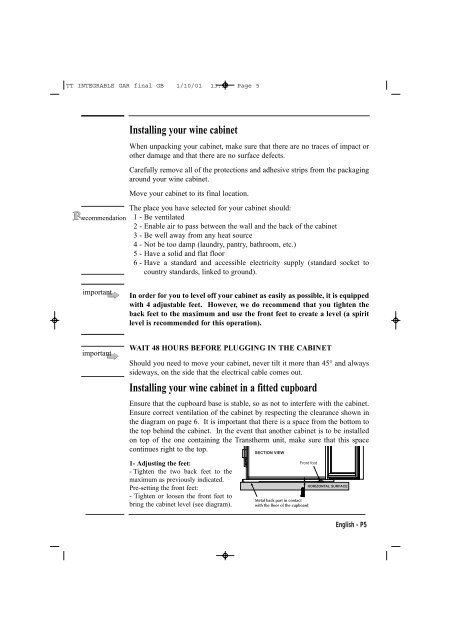
Installing your wine cabinet in a fitted cupboard<br />
Ensure that the cupboard base is stable, so as not to interfere with the cabinet.<br />
Ensure correct ventilation of the cabinet by respecting the clearance shown in<br />
the diagram on page 6. It is important that there is a space from the bottom to<br />
the top behind the cabinet. In the event that another cabinet is to be installed<br />
on top of the one containing the <strong>Transtherm</strong> unit, make sure that this space<br />
continues right to the top.<br />
1- Adjusting the feet:<br />
- Tighten the two back feet to the<br />
maximum as previously indicated.<br />
Pre-setting the front feet:<br />
- Tighten or loosen the front feet to<br />
bring the cabinet level (see diagram).<br />
English - P5