RPi Easy SD Card Setup - Raspberry PI Community Projects
RPi Easy SD Card Setup - Raspberry PI Community Projects
RPi Easy SD Card Setup - Raspberry PI Community Projects

You also want an ePaper? Increase the reach of your titles
YUMPU automatically turns print PDFs into web optimized ePapers that Google loves.
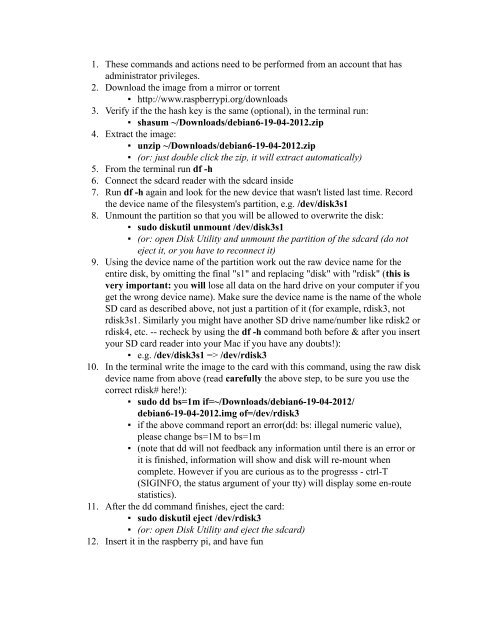
1. These commands and actions need to be performed from an account that has<br />
administrator privileges.<br />
2. Download the image from a mirror or torrent<br />
▪ http://www.raspberrypi.org/downloads<br />
3. Verify if the the hash key is the same (optional), in the terminal run:<br />
▪ shasum ~/Downloads/debian6-19-04-2012.zip<br />
4. Extract the image:<br />
▪ unzip ~/Downloads/debian6-19-04-2012.zip<br />
▪ (or: just double click the zip, it will extract automatically)<br />
5. From the terminal run df -h<br />
6. Connect the sdcard reader with the sdcard inside<br />
7. Run df -h again and look for the new device that wasn't listed last time. Record<br />
the device name of the filesystem's partition, e.g. /dev/disk3s1<br />
8. Unmount the partition so that you will be allowed to overwrite the disk:<br />
▪ sudo diskutil unmount /dev/disk3s1<br />
▪ (or: open Disk Utility and unmount the partition of the sdcard (do not<br />
eject it, or you have to reconnect it)<br />
9. Using the device name of the partition work out the raw device name for the<br />
entire disk, by omitting the final "s1" and replacing "disk" with "rdisk" (this is<br />
very important: you will lose all data on the hard drive on your computer if you<br />
get the wrong device name). Make sure the device name is the name of the whole<br />
<strong>SD</strong> card as described above, not just a partition of it (for example, rdisk3, not<br />
rdisk3s1. Similarly you might have another <strong>SD</strong> drive name/number like rdisk2 or<br />
rdisk4, etc. -- recheck by using the df -h command both before & after you insert<br />
your <strong>SD</strong> card reader into your Mac if you have any doubts!):<br />
▪ e.g. /dev/disk3s1 => /dev/rdisk3<br />
10. In the terminal write the image to the card with this command, using the raw disk<br />
device name from above (read carefully the above step, to be sure you use the<br />
correct rdisk# here!):<br />
▪ sudo dd bs=1m if=~/Downloads/debian6-19-04-2012/<br />
debian6-19-04-2012.img of=/dev/rdisk3<br />
▪ if the above command report an error(dd: bs: illegal numeric value),<br />
please change bs=1M to bs=1m<br />
▪ (note that dd will not feedback any information until there is an error or<br />
it is finished, information will show and disk will re-mount when<br />
complete. However if you are curious as to the progresss - ctrl-T<br />
(SIGINFO, the status argument of your tty) will display some en-route<br />
statistics).<br />
11. After the dd command finishes, eject the card:<br />
▪ sudo diskutil eject /dev/rdisk3<br />
▪ (or: open Disk Utility and eject the sdcard)<br />
12. Insert it in the raspberry pi, and have fun