120v & 240v CAPFM Heating Mat Installation guide - Warmup
120v & 240v CAPFM Heating Mat Installation guide - Warmup
120v & 240v CAPFM Heating Mat Installation guide - Warmup
You also want an ePaper? Increase the reach of your titles
YUMPU automatically turns print PDFs into web optimized ePapers that Google loves.
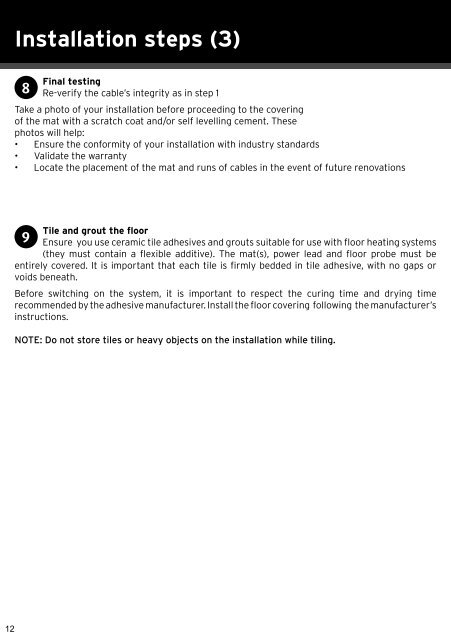
<strong>Installation</strong> steps (4) (3)<br />
Final testing<br />
8 Re-verify the cable’s integrity as in step 1<br />
Take a photo of your installation before proceeding to the covering<br />
of the mat with a scratch coat and/or self levelling cement. These<br />
photos will help:<br />
• Ensure the conformity of your installation with industry standards<br />
• Validate the warranty<br />
• Locate the placement of the mat and runs of cables in the event of future renovations<br />
Tile and grout the floor<br />
9 Ensure you use ceramic tile adhesives and grouts suitable for use with floor heating systems<br />
(they must contain a flexible additive). The mat(s), power lead and floor probe must be<br />
entirely covered. It is important that each tile is firmly bedded in tile adhesive, with no gaps or<br />
voids beneath.<br />
Before switching on the system, it is important to respect the curing time and drying time<br />
recommended by the adhesive manufacturer. Install the floor covering following the manufacturer’s<br />
instructions.<br />
NOTE: Do not store tiles or heavy objects on the installation while tiling.<br />
12


