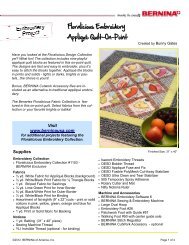
Issue 5 - Amazon Web Services
Issue 5 - Amazon Web Services
Issue 5 - Amazon Web Services

You also want an ePaper? Increase the reach of your titles
YUMPU automatically turns print PDFs into web optimized ePapers that Google loves.
ISSUE 5 • 13<br />
Cut the Fabric<br />
Placemat Fronts—with Napkin Sleeve<br />
Cut from Small All Over—Black Multi<br />
• two 4½" x 14½" rectangles<br />
• two 13¾" x 14½" rectangles<br />
Cut from Squiggle—Light Green<br />
• two 6" x 16" rectangles<br />
• four 6" x 7" rectangles<br />
Cut from Leaf Vine—Green Multi<br />
• two 1½" x 14½" rectangles<br />
Placemat Backs—with Patchwork<br />
Cut from Small All Over—Black Multi<br />
• two 9½" x 7½" rectangles<br />
Cut six 4" x 5" rectangles from each fabric<br />
• Tossed Flower —Yellow Multi<br />
• Leaf Vine—Green Multi<br />
• Squiggle—Light Green<br />
• Squiggle—Orange<br />
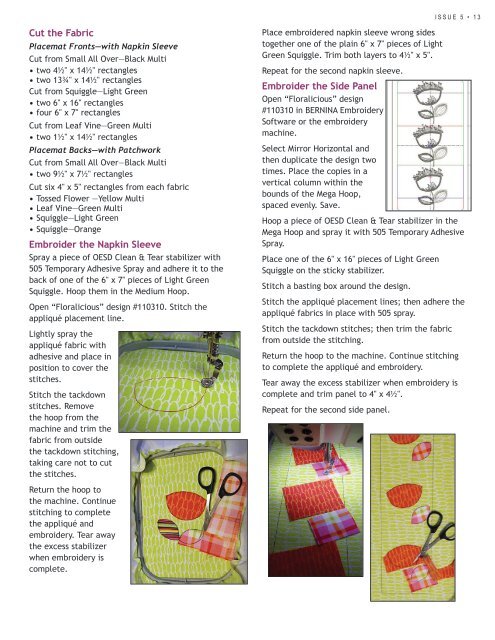
Embroider the Napkin Sleeve<br />
Spray a piece of OESD Clean & Tear stabilizer with<br />
505 Temporary Adhesive Spray and adhere it to the<br />
back of one of the 6" x 7" pieces of Light Green<br />
Squiggle. Hoop them in the Medium Hoop.<br />
Open “Floralicious” design #110310. Stitch the<br />
appliqué placement line.<br />
Lightly spray the<br />
appliqué fabric with<br />
adhesive and place in<br />
position to cover the<br />
stitches.<br />
Stitch the tackdown<br />
stitches. Remove<br />
the hoop from the<br />
machine and trim the<br />
fabric from outside<br />
the tackdown stitching,<br />
taking care not to cut<br />
the stitches.<br />
Place embroidered napkin sleeve wrong sides<br />
together one of the plain 6" x 7" pieces of Light<br />
Green Squiggle. Trim both layers to 4½" x 5".<br />
Repeat for the second napkin sleeve.<br />
Embroider the Side Panel<br />
Open “Floralicious” design<br />
#110310 in BERNINA Embroidery<br />
Software or the embroidery<br />
machine.<br />
Select Mirror Horizontal and<br />
then duplicate the design two<br />
times. Place the copies in a<br />
vertical column within the<br />
bounds of the Mega Hoop,<br />
spaced evenly. Save.<br />
Hoop a piece of OESD Clean & Tear stabilizer in the<br />
Mega Hoop and spray it with 505 Temporary Adhesive<br />
Spray.<br />
Place one of the 6" x 16" pieces of Light Green<br />
Squiggle on the sticky stabilizer.<br />
Stitch a basting box around the design.<br />
Stitch the appliqué placement lines; then adhere the<br />
appliqué fabrics in place with 505 spray.<br />
Stitch the tackdown stitches; then trim the fabric<br />
from outside the stitching.<br />
Return the hoop to the machine. Continue stitching<br />
to complete the appliqué and embroidery.<br />
Tear away the excess stabilizer when embroidery is<br />
complete and trim panel to 4" x 4½".<br />
Repeat for the second side panel.<br />
Return the hoop to<br />
the machine. Continue<br />
stitching to complete<br />
the appliqué and<br />
embroidery. Tear away<br />
the excess stabilizer<br />
when embroidery is<br />
complete.