WHO Guidelines on Drawing Blood: Best Practices in Phlebotomy
WHO Guidelines on Drawing Blood: Best Practices in Phlebotomy
WHO Guidelines on Drawing Blood: Best Practices in Phlebotomy
- No tags were found...

Create successful ePaper yourself
Turn your PDF publications into a flip-book with our unique Google optimized e-Paper software.
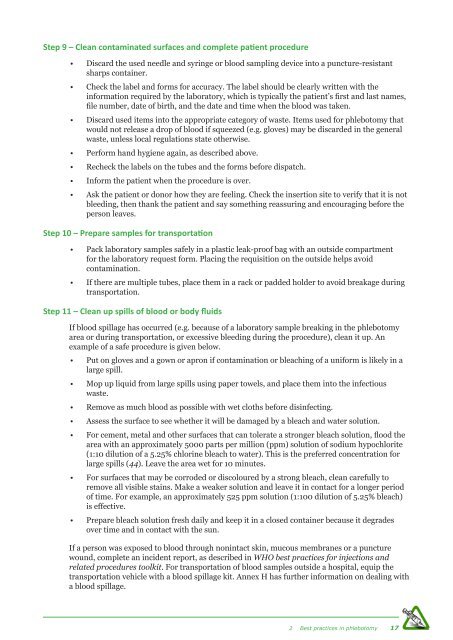
Step 9 – Clean c<strong>on</strong>tam<strong>in</strong>ated surfaces and complete patient procedure<br />
• Discard the used needle and syr<strong>in</strong>ge or blood sampl<strong>in</strong>g device <strong>in</strong>to a puncture-resistant<br />
sharps c<strong>on</strong>ta<strong>in</strong>er.<br />
• Check the label and forms for accuracy. The label should be clearly written with the<br />
<strong>in</strong>formati<strong>on</strong> required by the laboratory, which is typically the patient’s first and last names,<br />
file number, date of birth, and the date and time when the blood was taken.<br />
• Discard used items <strong>in</strong>to the appropriate category of waste. Items used for phlebotomy that<br />
would not release a drop of blood if squeezed (e.g. gloves) may be discarded <strong>in</strong> the general<br />
waste, unless local regulati<strong>on</strong>s state otherwise.<br />
• Perform hand hygiene aga<strong>in</strong>, as described above.<br />
• Recheck the labels <strong>on</strong> the tubes and the forms before dispatch.<br />
• Inform the patient when the procedure is over.<br />
• Ask the patient or d<strong>on</strong>or how they are feel<strong>in</strong>g. Check the <strong>in</strong>serti<strong>on</strong> site to verify that it is not<br />
bleed<strong>in</strong>g, then thank the patient and say someth<strong>in</strong>g reassur<strong>in</strong>g and encourag<strong>in</strong>g before the<br />
pers<strong>on</strong> leaves.<br />
Step 10 – Prepare samples for transportati<strong>on</strong><br />
• Pack laboratory samples safely <strong>in</strong> a plastic leak-proof bag with an outside compartment<br />
for the laboratory request form. Plac<strong>in</strong>g the requisiti<strong>on</strong> <strong>on</strong> the outside helps avoid<br />
c<strong>on</strong>tam<strong>in</strong>ati<strong>on</strong>.<br />
• If there are multiple tubes, place them <strong>in</strong> a rack or padded holder to avoid breakage dur<strong>in</strong>g<br />
transportati<strong>on</strong>.<br />
Step 11 – Clean up spills of blood or body fluids<br />
If blood spillage has occurred (e.g. because of a laboratory sample break<strong>in</strong>g <strong>in</strong> the phlebotomy<br />
area or dur<strong>in</strong>g transportati<strong>on</strong>, or excessive bleed<strong>in</strong>g dur<strong>in</strong>g the procedure), clean it up. An<br />
example of a safe procedure is given below.<br />
• Put <strong>on</strong> gloves and a gown or apr<strong>on</strong> if c<strong>on</strong>tam<strong>in</strong>ati<strong>on</strong> or bleach<strong>in</strong>g of a uniform is likely <strong>in</strong> a<br />
large spill.<br />
• Mop up liquid from large spills us<strong>in</strong>g paper towels, and place them <strong>in</strong>to the <strong>in</strong>fectious<br />
waste.<br />
• Remove as much blood as possible with wet cloths before dis<strong>in</strong>fect<strong>in</strong>g.<br />
• Assess the surface to see whether it will be damaged by a bleach and water soluti<strong>on</strong>.<br />
• For cement, metal and other surfaces that can tolerate a str<strong>on</strong>ger bleach soluti<strong>on</strong>, flood the<br />
area with an approximately 5000 parts per milli<strong>on</strong> (ppm) soluti<strong>on</strong> of sodium hypochlorite<br />
(1:10 diluti<strong>on</strong> of a 5.25% chlor<strong>in</strong>e bleach to water). This is the preferred c<strong>on</strong>centrati<strong>on</strong> for<br />
large spills (44). Leave the area wet for 10 m<strong>in</strong>utes.<br />
• For surfaces that may be corroded or discoloured by a str<strong>on</strong>g bleach, clean carefully to<br />
remove all visible sta<strong>in</strong>s. Make a weaker soluti<strong>on</strong> and leave it <strong>in</strong> c<strong>on</strong>tact for a l<strong>on</strong>ger period<br />
of time. For example, an approximately 525 ppm soluti<strong>on</strong> (1:100 diluti<strong>on</strong> of 5.25% bleach)<br />
is effective.<br />
• Prepare bleach soluti<strong>on</strong> fresh daily and keep it <strong>in</strong> a closed c<strong>on</strong>ta<strong>in</strong>er because it degrades<br />
over time and <strong>in</strong> c<strong>on</strong>tact with the sun.<br />
If a pers<strong>on</strong> was exposed to blood through n<strong>on</strong><strong>in</strong>tact sk<strong>in</strong>, mucous membranes or a puncture<br />
wound, complete an <strong>in</strong>cident report, as described <strong>in</strong> <str<strong>on</strong>g>WHO</str<strong>on</strong>g> best practices for <strong>in</strong>jecti<strong>on</strong>s and<br />
related procedures toolkit. For transportati<strong>on</strong> of blood samples outside a hospital, equip the<br />
transportati<strong>on</strong> vehicle with a blood spillage kit. Annex H has further <strong>in</strong>formati<strong>on</strong> <strong>on</strong> deal<strong>in</strong>g with<br />
a blood spillage.<br />
2 <strong>Best</strong> practices <strong>in</strong> phlebotomy 17