30'' sheet metal machine - Grizzly Industrial Inc.
30'' sheet metal machine - Grizzly Industrial Inc.
30'' sheet metal machine - Grizzly Industrial Inc.

Create successful ePaper yourself
Turn your PDF publications into a flip-book with our unique Google optimized e-Paper software.
2. Shear Alignment. The two shearing bars<br />
may need to be aligned with each other<br />
across their entire length. Lower the shear<br />
assembly all the way so the two shears are<br />
even with each other. If one side or the other<br />
does not meet, the cutting table needs to be<br />
realigned. Loosen the bolts that hold the<br />
table, then tighten or loosen the adjustment<br />
screws on the front underside until the cutting<br />
table is properly aligned. Tighten the<br />
holding bolts and double check the alignment.<br />
Tips for shearing:<br />
• When shearing, the work should be squared<br />
against the squaring guide. The holdown<br />
should be adjusted approximately 1 ⁄4" above<br />
the table when the shear blade is in the “up”<br />
position. As you move the blade downward,<br />
the holdown should immediately rest against<br />
the workpiece and hold it in place.<br />
• Do not reach around the <strong>machine</strong> to grab the<br />
cut-off piece. A large cut-off piece should be<br />
allowed to drop on a special table that is designated<br />
to catch cut-off pieces that are larger<br />
than the workbench.<br />
• To prevent distortion when notching, “snap”<br />
the handle quickly to pierce the workpiece.<br />
The maximum notch that can be cut at one<br />
time is 3 ⁄4". By progressing in 5 ⁄8" steps, a<br />
deeper notch can be cut.<br />
• To adjust the lower shear blade, loosen the<br />
screw at the end of each table. Underneath<br />
the table, there are two adjustment screws on<br />
the left and right side. By adjusting these<br />
screws in or out, the lower blade can be<br />
brought in contact with the upper shear so a<br />
fine cut can be made.<br />
• Have the shear blades sharpened by a professional.<br />
This will lead to accurate and quality<br />
results.<br />
• The shear blades are interchangeable. The<br />
upper shear mount has a 5˚ relief angle, so<br />
the upper blade does not exactly match the<br />
lower blade when installed correctly.<br />
All <strong>metal</strong> parts after shearing will have a<br />
sharp edge on them. The sharp edge may<br />
cause cuts or lacerations when handled.<br />
Please examine the edges of all cut <strong>metal</strong><br />
parts and file or sand the edge to remove<br />
the edge before handling.<br />
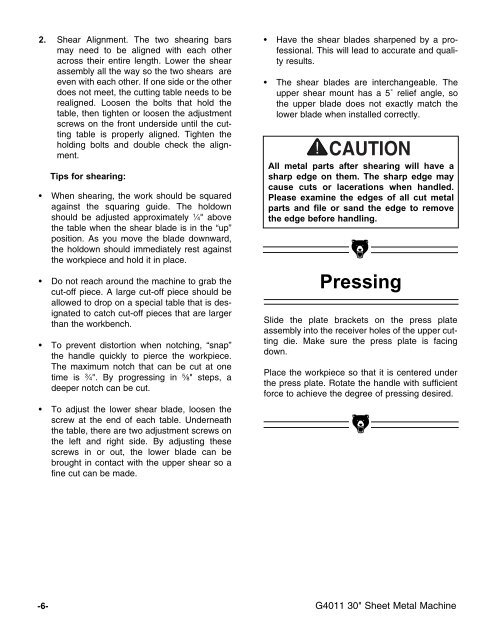
Pressing<br />
Slide the plate brackets on the press plate<br />
assembly into the receiver holes of the upper cutting<br />
die. Make sure the press plate is facing<br />
down.<br />
Place the workpiece so that it is centered under<br />
the press plate. Rotate the handle with sufficient<br />
force to achieve the degree of pressing desired.<br />
-6- G4011 30" Sheet Metal Machine