e4250
e4250
e4250

You also want an ePaper? Increase the reach of your titles
YUMPU automatically turns print PDFs into web optimized ePapers that Google loves.
Thank you for purchasing this Dynojet<br />
kit. This kit has been developed for a<br />
motorcycle which is set to the<br />
parameters listed at the right in the<br />
“Stage” description. If your motorcycle<br />
does not meet any of these parameters<br />
please check with Dynojet before<br />
installation. For technical assistance<br />
contact your Dynojet distributor or call<br />
Dynojet U.S.A. (800)-992-4993<br />
2191 Mendenhall Dr. Suite 105<br />
North Las Vegas, NV 89081<br />
TEL: 702-399-1423<br />
FAX: 702-399-1431<br />
8am-5pm Pacific Time<br />
Monday through Friday<br />
Website Address<br />
http://www.dynojet.com<br />
The manufacturer and seller make no<br />
warranties express or implied which<br />
extend beyond the description of the<br />
goods contained herein. Any description<br />
of this product is for the purpose of<br />
identifying it and shall not be deemed to<br />
create an express warranty.<br />
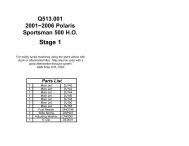
E4250.001<br />
European Models Only<br />
1989-97 Yamaha XTZ 750<br />
Stage 2<br />
For mildly tuned machines using the stock airbox,<br />
with the airbox lid remove and stock or K&N<br />
filter. May also be used with a good aftermarket<br />
exhaust system. K&N Filter# YA-0075<br />
WARNING<br />
NO SMOKING!<br />
NO OPEN FLAME!<br />
WHILE INSTALLING<br />
YOUR DYNOJET KIT<br />
Parts List<br />
2 Main Jets YJ155<br />
2 Main Jets YJ160<br />
4 Main Jet O-Rings YJ-0<br />
2 Fuel Needles DNO322A<br />
2 Slide Springs DSP016<br />
2 E-clips DE0001<br />
2 Adjusting Washers DW0001<br />
1 Slide Drill DD 5/32<br />
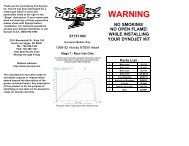
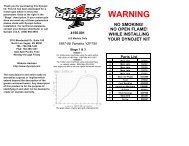
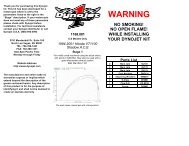
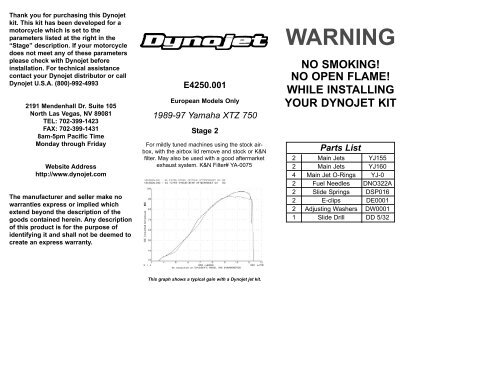
This graph shows a typical gain with a Dynojet jet kit.
STAGE TWO INSTRUCTIONS<br />
1. Remove vacuum slide from carbs. Remove stock needles & spacers, noting order of<br />
assembly (Fig. A). Locate slide lift holes, with slide drill (DD#5/32) provided, enlarge your<br />
slide lift holes. Do not drill the needle hole.<br />
E4250.001<br />
2. Install the Dynojet needles on groove# 4, using all stock spacers (Fig. A). Install the<br />
Dynojet washer above the E-clip.<br />
3. Remove stock main jets and replace with Dynojet mains provided. Use YJ155 main jets<br />
with stock exhaust pipe, or use YJ160 main jets with aftermarket header or slip-on with high<br />
flowing baffles. Be sure that the jets you are changing are the main jets.<br />
4. Install the Dynojet spring in place of the stock spring, making sure the spring is aligned<br />
properly.<br />
Place E-clip in<br />
groove #4 from<br />
the top<br />
5. Locate the Fuel Mixture Plug (Fig. B). Carefully turn mixture screw clockwise until lightly<br />
seated, then back out 2-1/2 turns.<br />
Fig. A<br />
Fig. B<br />
Stock Parts<br />
Slide Lift Holes<br />
Dynojet Parts