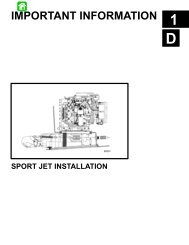
SPORT JET INSTALLATION
SPORT JET INSTALLATION
SPORT JET INSTALLATION

Create successful ePaper yourself
Turn your PDF publications into a flip-book with our unique Google optimized e-Paper software.
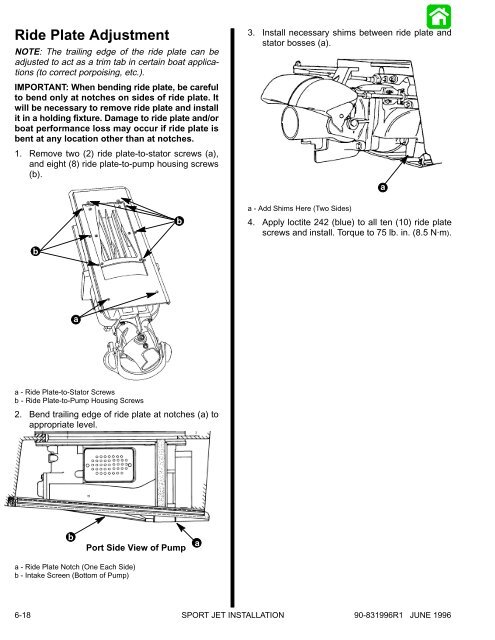
Ride Plate Adjustment<br />
NOTE: The trailing edge of the ride plate can be<br />
adjusted to act as a trim tab in certain boat applications<br />
(to correct porpoising, etc.).<br />
IMPORTANT: When bending ride plate, be careful<br />
to bend only at notches on sides of ride plate. It<br />
will be necessary to remove ride plate and install<br />
it in a holding fixture. Damage to ride plate and/or<br />
boat performance loss may occur if ride plate is<br />
bent at any location other than at notches.<br />
1. Remove two (2) ride plate-to-stator screws (a),<br />
and eight (8) ride plate-to-pump housing screws<br />
(b).<br />
b<br />
3. Install necessary shims between ride plate and<br />
stator bosses (a).<br />
a - Add Shims Here (Two Sides)<br />
4. Apply loctite 242 (blue) to all ten (10) ride plate<br />
screws and install. Torque to 75 lb. in. (8.5 N·m).<br />
a<br />
b<br />
a<br />
a - Ride Plate-to-Stator Screws<br />
b - Ride Plate-to-Pump Housing Screws<br />
2. Bend trailing edge of ride plate at notches (a) to<br />
appropriate level.<br />
b<br />
Port Side View of Pump<br />
a<br />
a - Ride Plate Notch (One Each Side)<br />
b - Intake Screen (Bottom of Pump)<br />
6-18 <strong>SPORT</strong> <strong>JET</strong> <strong>INSTALLATION</strong><br />
90-831996R1 JUNE 1996