
You also want an ePaper? Increase the reach of your titles
YUMPU automatically turns print PDFs into web optimized ePapers that Google loves.
Program Mode<br />
The base station has six keys for easy operation: MENU key, UP/+ key, DOWN/− key, ENTER<br />
HISTORY key, ON/OFF key<br />
Note: Because of the default settings already determined by the manufacturer it may not b necessary<br />
for the majority of user to perform−except the relative pressure(see further down)−any furtther basic<br />
settings and changes, however, can be easily made.<br />
key,<br />
Note: Keeping the UP/+ or DOWN/− key depressed when setting certain units in the manual setting<br />
mode will increase/decrease digits in greater steps.<br />
The setting procedure can be exited at any time by either pressing the HISTORY key or waiting<br />
for the 30−second time−out to take effect.<br />
The basic settings can now be performed in the following order:<br />
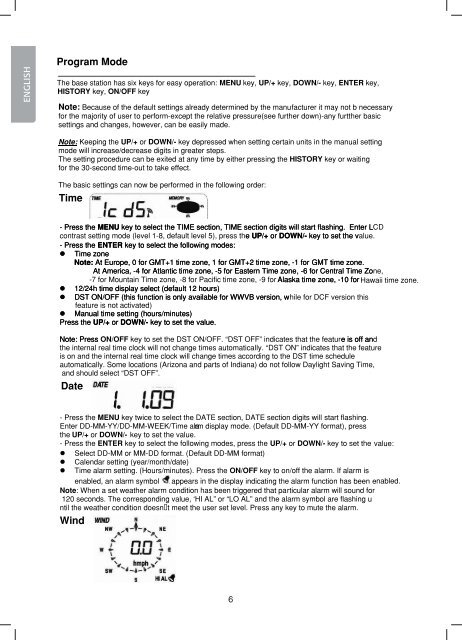
Time<br />
− Press the MENU key to select the TIME section, TIME section digits will start flashing. Enter L<br />
CD<br />
contrast setting mode (level 1−8, default level 5), press th<br />
e UP/+ or DOWN/− key to set the value.<br />
− Press the ENTER key to select the following modes:<br />
• Time zone<br />
Note: At Europe, 0 for GMT+1 time zone, 1 for GMT+2 time zone, −1 for GMT time zone.<br />
At America, −4 for Atlantic time zone, −5 for Eastern Time zone, −6 for Central Time Zone,<br />
−7 for Mountain Time zone, −8 for Pacific time zone, −9 for<br />
Alaska time zone, −10 for Hawaii time zone.<br />
• 12/24h time display select (default 12 hours)<br />
• DST ON/OFF (this function is only available for WWVB version, while for DCF version this<br />
feature is not activated)<br />
• Manual time setting (hours/minutes)<br />
Press the UP/+ or DOWN/− key to set the value.<br />
Note: Press ON/OFF key to set the DST ON/OFF. ˆDST OFF˜ indicates that the feature e is off and<br />
the internal real time clock will not change times automatically. ˆDST ON˜ indicates that the feature<br />
is on and the internal real time clock will change times according to the DST time schedule<br />
automatically. Some locations (Arizona and parts of Indiana) do not follow Daylight Saving Time,<br />
and should select ˆDST OFF˜.<br />
Date<br />
− Press the MENU key twice to select the DATE section, DATE section digits will start flashing.<br />
Enter DD−MM−YY/DD−MM−WEEK/Time ala rm display mode. (Default DD−MM−YY format), press<br />
the UP/+ or DOWN/− key to set the value.<br />
− Press the ENTER key to select the following modes, press the UP/+ or DOWN/− key to set the value:<br />
• Select DD−MM or MM−DD format. (Default DD−MM format)<br />
• Calendar setting (year/month/date)<br />
• Time alarm setting. (Hours/minutes). Press the ON/OFF key to on/off the alarm. If alarm is<br />
enabled, an alarm symbol appears in the display indicating the alarm function has been enabled.<br />
Note: When a set weather alarm condition has been triggered that particular alarm will sound for<br />
120 seconds. The corresponding value, `HI AL˜ or ˆLO AL˜ and the alarm symbol are flashing u<br />
ntil the weather condition doesn t meet the user set level. Press any key to mute the alarm.<br />
Wind