Series 2000 Install.pdf - Aztec
Series 2000 Install.pdf - Aztec
Series 2000 Install.pdf - Aztec

Create successful ePaper yourself
Turn your PDF publications into a flip-book with our unique Google optimized e-Paper software.
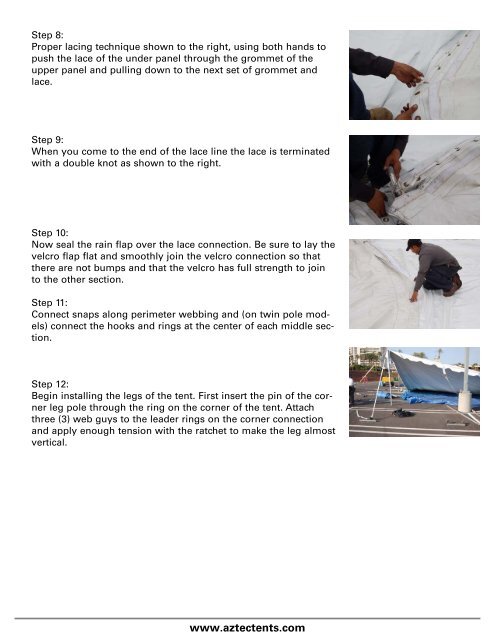
Step 8:<br />
Proper lacing technique shown to the right, using both hands to<br />
push the lace of the under panel through the grommet of the<br />
upper panel and pulling down to the next set of grommet and<br />
lace.<br />
Step 9:<br />
When you come to the end of the lace line the lace is terminated<br />
with a double knot as shown to the right.<br />
Step 10:<br />
Now seal the rain flap over the lace connection. Be sure to lay the<br />
velcro flap flat and smoothly join the velcro connection so that<br />
there are not bumps and that the velcro has full strength to join<br />
to the other section.<br />
Step 11:<br />
Connect snaps along perimeter webbing and (on twin pole models)<br />
connect the hooks and rings at the center of each middle section.<br />
Step 12:<br />
Begin installing the legs of the tent. First insert the pin of the corner<br />
leg pole through the ring on the corner of the tent. Attach<br />
three (3) web guys to the leader rings on the corner connection<br />
and apply enough tension with the ratchet to make the leg almost<br />
vertical.<br />
www.aztectents.com