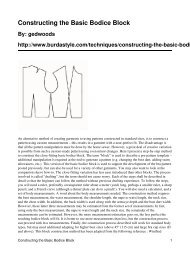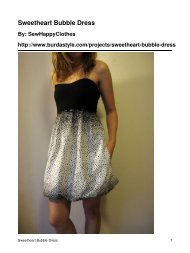
How to: Petersham Ribbon Waistband - BurdaStyle.com
How to: Petersham Ribbon Waistband - BurdaStyle.com
How to: Petersham Ribbon Waistband - BurdaStyle.com

You also want an ePaper? Increase the reach of your titles
YUMPU automatically turns print PDFs into web optimized ePapers that Google loves.
ut added the covered belt buckle and honey petersham beforehand. Bonus Tip â You can also hand baste<br />
before stitching with your machine <strong>to</strong> make things even easier. I did that for the honey petersham as I applied<br />
it <strong>to</strong> the outside waistband. After youâ’ve applied the petersham, give your seam allowance (skirt fabrics<br />
only) a good trim <strong>to</strong> 1/4â’³. Makes for alot less bulk when wearing. Easy as pie right?<br />
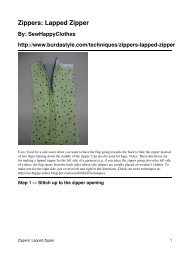
Step 2 — Step 2 â<br />
Now, its time <strong>to</strong> add your zipper <strong>to</strong> the lining. Keep in mind that Iâ’m using a trusty standard metal zipper<br />
(a lovely Riri number from New York, no less). To insert, stitch the zipper tape <strong>to</strong> the lining with the<br />
zipperâ’s wrong side pinned <strong>to</strong> the liningâ’s right side. In other words, if you were <strong>to</strong> put the lining on at<br />
this point, the zipper would be facing outward from the body. Hopefully that gives you an idea, because it<br />
tends <strong>to</strong> feel a little backwards. Oh and do make sure that youâ’ve changed over <strong>to</strong> your zipper foot â’ that<br />
will make this a whole bunch easier.<br />
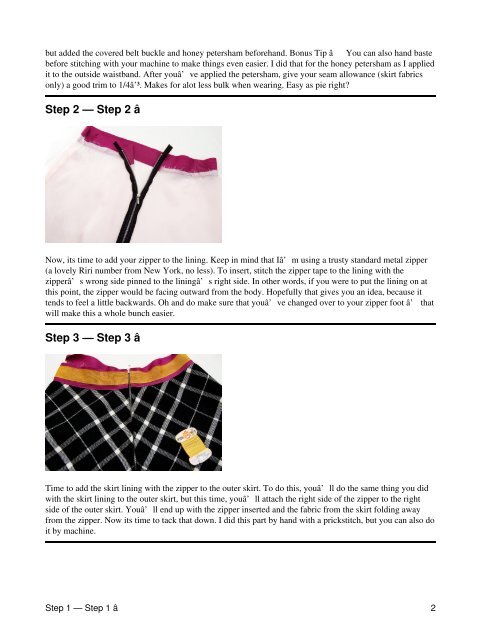
Step 3 — Step 3 â<br />
Time <strong>to</strong> add the skirt lining with the zipper <strong>to</strong> the outer skirt. To do this, youâ’ll do the same thing you did<br />
with the skirt lining <strong>to</strong> the outer skirt, but this time, youâ’ll attach the right side of the zipper <strong>to</strong> the right<br />
side of the outer skirt. Youâ’ll end up with the zipper inserted and the fabric from the skirt folding away<br />
from the zipper. Now its time <strong>to</strong> tack that down. I did this part by hand with a prickstitch, but you can also do<br />
it by machine.<br />
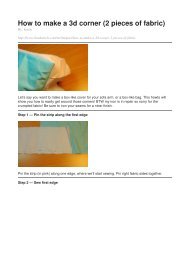
Step 1 — Step 1 â 2