EV8582 Series â Quick Installation Guide - Etrovision
EV8582 Series â Quick Installation Guide - Etrovision
EV8582 Series â Quick Installation Guide - Etrovision
You also want an ePaper? Increase the reach of your titles
YUMPU automatically turns print PDFs into web optimized ePapers that Google loves.
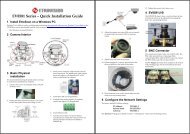
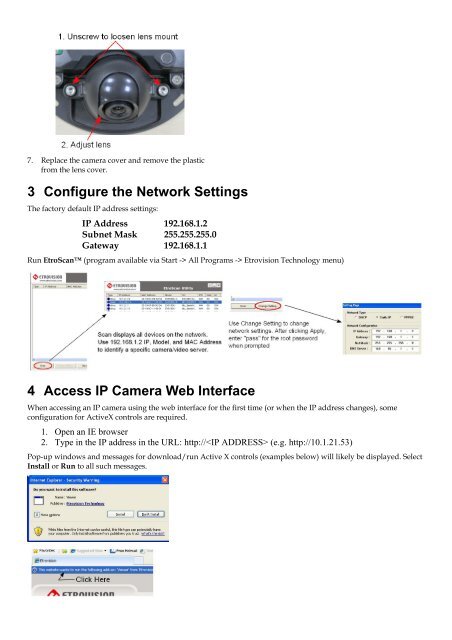
7. Replace the camera cover and remove the plastic<br />
from the lens cover.<br />
3 Configure the Network Settings<br />
The factory default IP address settings:<br />
IP Address 192.168.1.2<br />
Subnet Mask 255.255.255.0<br />
Gateway 192.168.1.1<br />
Run EtroScan (program available via Start -> All Programs -> <strong>Etrovision</strong> Technology menu)<br />
4 Access IP Camera Web Interface<br />
When accessing an IP camera using the web interface for the first time (or when the IP address changes), some<br />
configuration for ActiveX controls are required.<br />
1. Open an IE browser<br />
2. Type in the IP address in the URL: http:// (e.g. http://10.1.21.53)<br />
Pop-up windows and messages for download/run Active X controls (examples below) will likely be displayed. Select<br />
Install or Run to all such messages.


![Cover [IP8161]_Outline.ai](https://img.yumpu.com/39386743/1/185x260/cover-ip8161-outlineai.jpg?quality=85)
