QS4-USB - Bazzaz
QS4-USB - Bazzaz
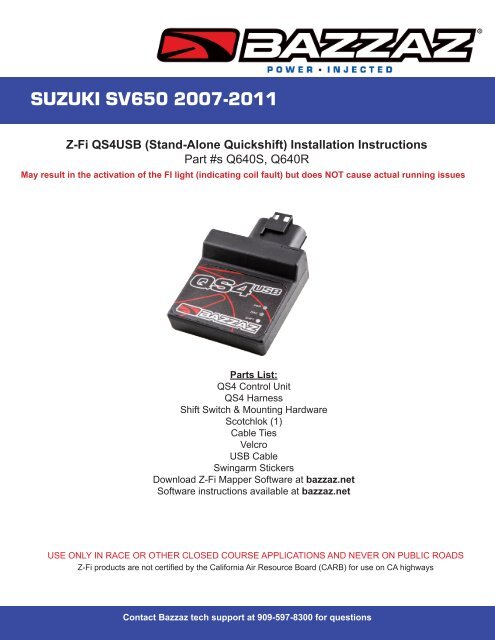
QS4-USB - Bazzaz

You also want an ePaper? Increase the reach of your titles
YUMPU automatically turns print PDFs into web optimized ePapers that Google loves.
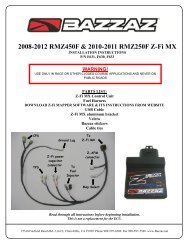
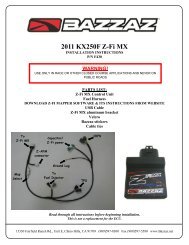
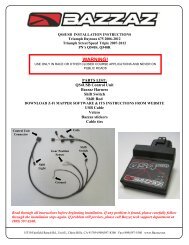
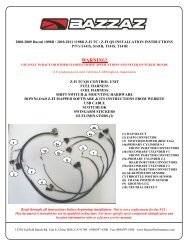
WE STRONGLY SUGGEST THAT AN EXPERIENCED TECHNICIAN INSTALL THIS BAZZAZ PRODUCT1. Begin the installation by removing the seats, fuel tank and airbox.+12V Switched PowerGroundGPSCoil 1(front)Coil 2 (rear)Harness routing shown in yellow.Stock component identification and location shown for reference.2. Place the <strong>Bazzaz</strong> <strong>QS4</strong> UNIT in the back of the tail section. Secure the <strong>QS4</strong> unit to the under tray with thesupplied velcro.3. Connect the main connector of the <strong>Bazzaz</strong> <strong>QS4</strong> HARNESS to the <strong>QS4</strong> unit. Begin routing the harnesstowards the engine compartment and down the left side.
7. Route the <strong>Bazzaz</strong> front coil connectors between the cylinders, to the front cylinder ignition #1 coil.Disconnect the factory coil connectors and connect the <strong>Bazzaz</strong> #1 COIL FRONT connectors in-line with thefactory connectors.Note: May result in the activation of the FI light (indicating coil fault) but does NOT cause actual running issues.<strong>Bazzaz</strong> coil connectorsCoil cylinder #1 (front)Factory coilconnectors8. Route the <strong>Bazzaz</strong> rear coil connectors over to the right side of the bike, to the rear cylinder ignition #2 coil.Disconnect the factory coil connectors and connect the <strong>Bazzaz</strong> #2 COIL REAR connectors in-line with thefactory connectors.Coil cylinder #2 (rear)<strong>Bazzaz</strong> coil connectorsFactory coilconnectors