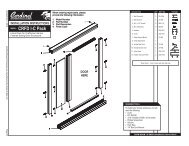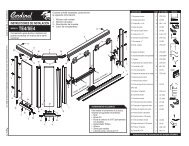
TruFit Door & Panel - Cardinal Shower
TruFit Door & Panel - Cardinal Shower
TruFit Door & Panel - Cardinal Shower
- No tags were found...

Create successful ePaper yourself
Turn your PDF publications into a flip-book with our unique Google optimized e-Paper software.
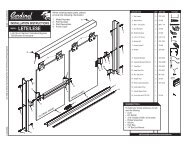
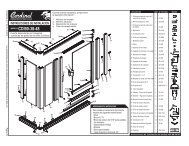
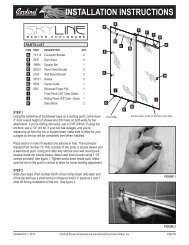
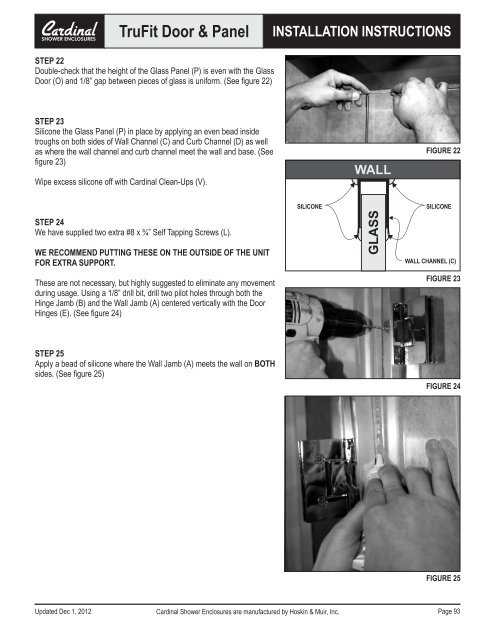
<strong>TruFit</strong> <strong>Door</strong> & <strong>Panel</strong>INSTALLATION INSTRUCTIONSSTEP 22Double-check that the height of the Glass <strong>Panel</strong> (P) is even with the Glass<strong>Door</strong> (O) and 1/8” gap between pieces of glass is uniform. (See figure 22)STEP 23Silicone the Glass <strong>Panel</strong> (P) in place by applying an even bead insidetroughs on both sides of Wall Channel (C) and Curb Channel (D) as wellas where the wall channel and curb channel meet the wall and base. (Seefigure 23)Wipe excess silicone off with <strong>Cardinal</strong> Clean-Ups (V).WALLFIGURE 22STEP 24We have supplied two extra #8 x ¾” Self Tapping Screws (L).WE RECOMMEND PUTTING THESE ON THE OUTSIDE OF THE UNITFOR EXTRA SUPPORT.These are not necessary, but highly suggested to eliminate any movementduring usage. Using a 1/8” drill bit, drill two pilot holes through both theHinge Jamb (B) and the Wall Jamb (A) centered vertically with the <strong>Door</strong>Hinges (E). (See figure 24)SILICONEGLASSSILICONEWALL CHANNEL (C)FIGURE 23STEP 25Apply a bead of silicone where the Wall Jamb (A) meets the wall on BOTHsides. (See figure 25)FIGURE 24FIGURE 25Updated Dec 1, 2012<strong>Cardinal</strong> <strong>Shower</strong> Enclosures are manufactured by Hoskin & Muir, Inc.Page 93