- Page 1 and 2: 3D QuickTools LimitedConcept & Tuto
- Page 3 and 4: 4.11 Face Search ..................
- Page 5 and 6: 14.3 Holder........................
- Page 7 and 8: Each mold design module is listed b
- Page 9 and 10: Chapter 1.Set ProjectThis is not a
- Page 11 and 12: 3.1 WorkpieceWorkpiece is used to d
- Page 13 and 14: 3.2 Search Cavity/Core facesThis is
- Page 15 and 16: 3.3 Extract parting linesOnce the c
- Page 17 and 18: Note: The Shut-off surface feature
- Page 19 and 20: Radiate surface:Select the referenc
- Page 21 and 22: Please ensure the pre-selected core
- Page 23 and 24: Chapter 4.QM-SolidPartingSolid Part
- Page 25 and 26: Extend by distance: Extend the sele
- Page 27 and 28: Revolved faces: Select revolved fac
- Page 29 and 30: There are two ways to define the pa
- Page 31 and 32: After the setting is completed, cli
- Page 33 and 34: Usage 2:select one or more adjacent
- Page 35 and 36: Searching sample with different opt
- Page 37 and 38: Select a face or edge on body, clic
- Page 39 and 40: 5.2 bodyThis functions works on par
- Page 41 and 42: :Using sketch to define the insert
- Page 43 and 44: AdvancedClick the Advanced button o
- Page 45 and 46: :Select the rectangular face and an
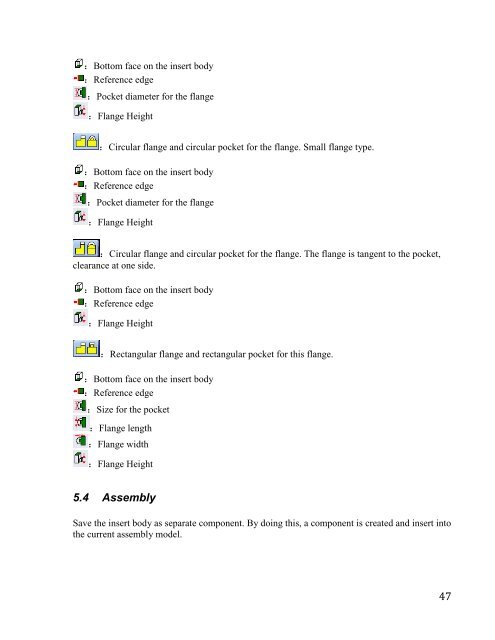
- Page 47: :Rectangular insert holder.:Bottom
- Page 51 and 52: :Double flange on the insert. Selec
- Page 53 and 54: 6.2 ToolsList the existing runners
- Page 55 and 56: Activate the Tools page, click, the
- Page 57 and 58: :Select the orgin and a point on an
- Page 59 and 60: :Select the orgin and a point on an
- Page 61 and 62: :Select a sketch line or connected
- Page 63 and 64: :Select a reference plane to be the
- Page 65 and 66: 2. Side gate:Select a sketch point
- Page 67 and 68: Chapter 7.Layout ManagerLayout Mana
- Page 69 and 70: If nothing is pre-selected, 3DQuick
- Page 71 and 72: Click Apply once the setting is don
- Page 73 and 74: Duplicate:Duplicate the selected ca
- Page 75 and 76: H1 (cavity): Define the thickness o
- Page 77 and 78: Show bitmap: Show bitmap near the d
- Page 79 and 80: Reverse hide:Show only the selected
- Page 81 and 82: Add/Remove: Add or remove selected
- Page 83 and 84: Chapter 9.Ejector WizardEjector Wiz
- Page 85 and 86: Select point, edge or face to defin
- Page 87 and 88: Decimal places:From 0 to 4, user ca
- Page 89 and 90: Position ejector:Select the sketch
- Page 91 and 92: :Stepped ejector, :Ejector blade, :
- Page 93 and 94: Clearance height:The Clearance heig
- Page 95 and 96: :Select the planar face where the e
- Page 97 and 98: Clearance height:Select this will i
- Page 99 and 100:
Chapter 10. Cooling WizardThe uses
- Page 101 and 102:
:Pick up one face, a sketch line en
- Page 103 and 104:
Methods available for creating the
- Page 105 and 106:
Use Solidworks sketch utilities to
- Page 107 and 108:
10.3 ParametersIt is for building t
- Page 109 and 110:
Select a sketch point on the coolin
- Page 111 and 112:
10.4 AccessorySome typical standard
- Page 113 and 114:
After cooling channel is created, u
- Page 115 and 116:
To add a screw, select a type, a pa
- Page 117 and 118:
:mate reference. It could be the sp
- Page 119 and 120:
Chapter 12.Slider WizardCustomer ca
- Page 121 and 122:
: Slider body type 2Method: same as
- Page 123 and 124:
: Slot type 3 for connection of sli
- Page 125 and 126:
Method: select a face and an edge a
- Page 127 and 128:
:Open direction, select planar face
- Page 129 and 130:
13.2 BodyThere are some tools for c
- Page 131 and 132:
:Extend lifter body to the selected
- Page 133 and 134:
The following five icons are applic
- Page 135 and 136:
After selecting two faces, click ea
- Page 137 and 138:
: Guide plate. Select a inclined fa
- Page 139 and 140:
Simulate: Lifter animation function
- Page 141 and 142:
14.2 BodyThe functions on this page
- Page 143 and 144:
Select four edges as the following
- Page 145 and 146:
Selection:Select sketch on the part
- Page 147 and 148:
:Prefix for the electrode bodyClick
- Page 149 and 150:
Click OK, an electrode holder is cr
- Page 151 and 152:
:Copy body, select a face on the ex
- Page 153 and 154:
Angle/Z:Angle value between the nor
- Page 155 and 156:
16.6 Create PocketCreate pockets fo
- Page 157 and 158:
16.9 Set configurationIn a multiple
- Page 159 and 160:
16.10 Save projectSave the entire a