Inspection of Tandem VTC-III reserves (VR-360) - United Parachute ...
Inspection of Tandem VTC-III reserves (VR-360) - United Parachute ...
Inspection of Tandem VTC-III reserves (VR-360) - United Parachute ...
- No tags were found...
Create successful ePaper yourself
Turn your PDF publications into a flip-book with our unique Google optimized e-Paper software.
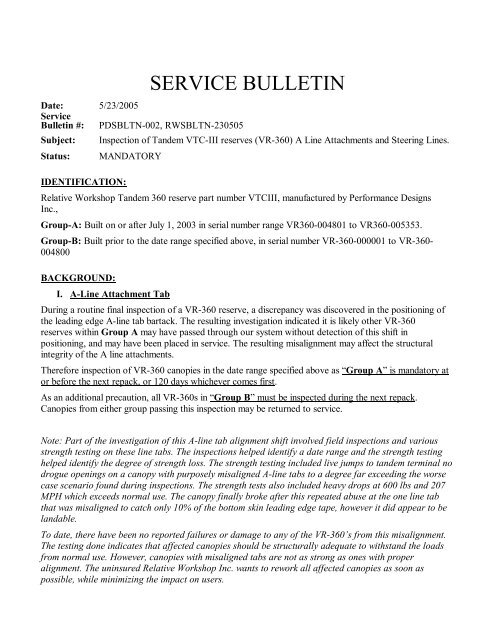
2. If the canopy complies with both the Aline tab inspection and the steering line inspection, orafter the canopy has been brought into compliance, Record “SBLTN002 complied with” onthe packing data card and WARNING label/TSO placard (in the space to the right <strong>of</strong> FAATSO approval).3. The canopy may then be placed in service.Group B (serial number range 000001 to 004800)Notify The Uninsured Relative Workshop Inc. <strong>of</strong> any nonconforming canopies within this groupwith the same information listed above for group A.COMPLIANCE DATE:<strong>Parachute</strong>s in GROUP A: At or before the next repack, or 120 days from this notice, whichever comesfirst.<strong>Parachute</strong>s in GROUP B: At the next repack.AUTHORITY:The Uninsured Relative Workshop1645 Lexington AveDeland, Florida 32724Telephone 3867367589ADJUSTMENT PROCESSINGCanopies needing the Aline tabs adjusted should be sent to either <strong>of</strong> the following locations:Performance Designs, Inc.1300 E. International Speedway Blvd.Deland Florida 32724Phone 386 738 2224Ask for Robin or DonnaFallschirmdepot Ostermunchner GmbhTolzer Strabe 14D83677 GreilingPhone 08041 / 70319Customers in Europe should contact Fallschirmdepot. All other customers should contact PerformanceDesigns. In an effort to best service all customers, both facilities will be scheduling this work. Pleasecontact the appropriate facility for shipping arrangements and scheduling before shipping the canopy.v If processed within the required compliance dates, adjustments <strong>of</strong> the Aline tabsperformed at either <strong>of</strong> the two locations listed above will be at no cost to the owner,and a prorated reimbursement for repacks will be available for those canopiesrequiring inspection and repack prior to the next scheduled repack.
<strong>Inspection</strong> Procedures1 Aline Attachment <strong>Inspection</strong> Procedure1.1 Rib Leading Edge Tape <strong>Inspection</strong> Criteria1.1.1 RequirementThe Aline attachment bartack must be sewn through at least 50% <strong>of</strong> the width <strong>of</strong> the loadedrib leadingedge tape.1.1.2 Evaluationa) Using a ruler, find the centerline <strong>of</strong> the ribleading edge tape. This may be lightly marked withpencil if necessary.b) Using the ruler, extend the centerline <strong>of</strong> the leading edge tape to the vicinity <strong>of</strong> the bartack.c) Observe the location <strong>of</strong> the bartack with respect to the tape centerline.AlineattachmentbartackLimit: 50% <strong>of</strong> theperpendicularwidth <strong>of</strong> the ribleading edge tapeBartack must crossthis line in order tobe in compliance.This sample is notin compliance.Figure 1 Rib leading Edge Tape <strong>Inspection</strong>
1.2 Bottom Skin Leading Edge Tape <strong>Inspection</strong> Criteria1.2.1 RequirementThe Aline attachment bartack stitching must extend forward <strong>of</strong> the forward stitch line on all the bottomskin leading edge tapes. Inspect both sides <strong>of</strong> tab.1.2.2 Evaluationa) Locate the forward stitch row <strong>of</strong> the bottomskin leading edge tape.b) Using a straight edge, extend the forward stitch line <strong>of</strong> the leading edge tape to the vicinity <strong>of</strong> thebartack.c) Observe the location <strong>of</strong> the bartack with respect to the tape stitch row. The bartack may or maynot overlap the edge <strong>of</strong> the linetab, but it must cross the stitchrow and be going through the tab atthis point.Forward stitch row<strong>of</strong> bottom skinleading edge tapeAline attachmentbartackBartack must crossthis line in order tobe in compliance.This sample is notin compliance.Figure 2 Bottom Skin LE Tape <strong>Inspection</strong>
1.3 Examples <strong>of</strong> Good AlignmentFigure 3 Acceptable Line Attachment Bar TackFigure 4 Acceptable Line Attachment Bar Tack
2 LST Loop <strong>Inspection</strong> Procedure2.1 LST Loop inspection Criteria2.1.1 RequirementCheck each <strong>of</strong> the LST’s (lower steering lines, the line that passes through the toggles) where it loopsaround the UST (upper steering line). This loop must be small enough that the brake setting loop on therisers cannot be pulled through.2.1.2 EvaluationUsing Figures 7 and 8, evaluate the LST loops.LSTGood LST loop(tight)UST’sFigure 5 Good LST LoopLSTLST loop too large(loose)UST’sFigure 6 LST Loop too large
3 LST Loop Corrective ActionThe LST loop may be reduced to an acceptable level by adding a bartack or zigzag stitch to reduce theopen legs <strong>of</strong> the loop. The following includes directions for reducing the existing LST loop.3.1 Requirement:The work must be performed by a certificated rigger. The stitching must be Nylon Ethread. Stitchingmay be done with a single throw zigzag, double throw zigzag, or a bartacker with between 28 and 42stitch conventional or center start pattern. Stitch pattern should be between ½” and 5/8” long, and 1/8”wide. For zigzag stitching, the preferred pattern is to start at or near the existing bartack, sew toward theUST, and then reverse back to the starting point. Zigzag stitching shall be 12 to 16 stitches per inch forsingle throw, and 8 to 12 stitches per inch for double throw.3.2 Loop AdjustmentThe stitch shall be installed to the legs <strong>of</strong> the LST loop between the existing bartack and the loop aroundthe UST lines as shown in Figure 9. The UST's may be left in place while this work is done, givensufficient care to avoid stitching thru the UST material.Original BarTackUST’sFigure 7 Top View, LST Loop AdjustmentNew BarTack or zigzagpattern.The stitching shall not overlap the existing bartack or penetrate the UST material passing through theloop. See Figure 10. A small amount <strong>of</strong> open area within the loop is permissible after the repair.UST’sAcceptable amount <strong>of</strong> open loop areaFigure 8 Side View, LST Loop Repair.


