Procedure, Field Replacement, PCU Kit, 6003A/6004, 2406 & 4003A
Procedure, Field Replacement, PCU Kit, 6003A/6004, 2406 & 4003A
Procedure, Field Replacement, PCU Kit, 6003A/6004, 2406 & 4003A
Create successful ePaper yourself
Turn your PDF publications into a flip-book with our unique Google optimized e-Paper software.
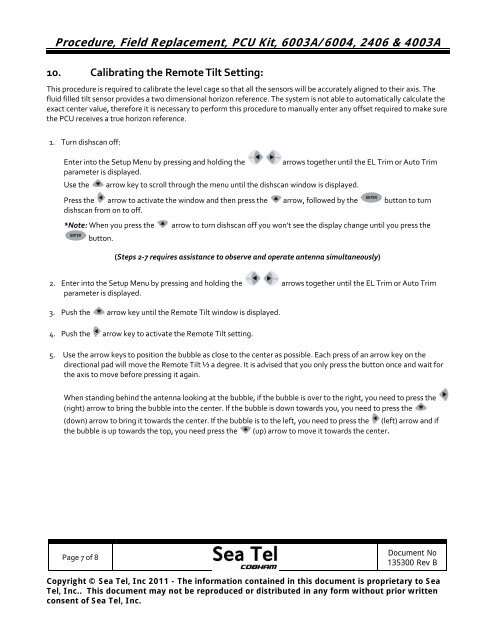
<strong>Procedure</strong>, <strong>Field</strong> <strong>Replacement</strong>, <strong>PCU</strong> <strong>Kit</strong>, <strong>6003A</strong>/<strong>6004</strong>, <strong>2406</strong> & <strong>4003A</strong>10. Calibrating the Remote Tilt Setting:This procedure is required to calibrate the level cage so that all the sensors will be accurately aligned to their axis. Thefluid filled tilt sensor provides a two dimensional horizon reference. The system is not able to automatically calculate theexact center value, therefore it is necessary to perform this procedure to manually enter any offset required to make surethe <strong>PCU</strong> receives a true horizon reference.1. Turn dishscan off:Enter into the Setup Menu by pressing and holding the arrows together until the EL Trim or Auto Trimparameter is displayed.Use the arrow key to scroll through the menu until the dishscan window is displayed.Press the arrow to activate the window and then press the arrow, followed by the button to turndishscan from on to off.*Note: When you press thebutton.arrow to turn dishscan off you won’t see the display change until you press the(Steps 2‐7 requires assistance to observe and operate antenna simultaneously)2. Enter into the Setup Menu by pressing and holding the arrows together until the EL Trim or Auto Trimparameter is displayed.3. Push the arrow key until the Remote Tilt window is displayed.4. Push the arrow key to activate the Remote Tilt setting.5. Use the arrow keys to position the bubble as close to the center as possible. Each press of an arrow key on thedirectional pad will move the Remote Tilt ½ a degree. It is advised that you only press the button once and wait forthe axis to move before pressing it again.When standing behind the antenna looking at the bubble, if the bubble is over to the right, you need to press the(right) arrow to bring the bubble into the center. If the bubble is down towards you, you need to press the(down) arrow to bring it towards the center. If the bubble is to the left, you need to press the (left) arrow and ifthe bubble is up towards the top, you need press the (up) arrow to move it towards the center.Page 7 of 8Document No135300 Rev BCopyright © Sea Tel, Inc 2011 - The information contained in this document is proprietary to SeaTel, Inc.. This document may not be reproduced or distributed in any form without prior writtenconsent of Sea Tel, Inc.


