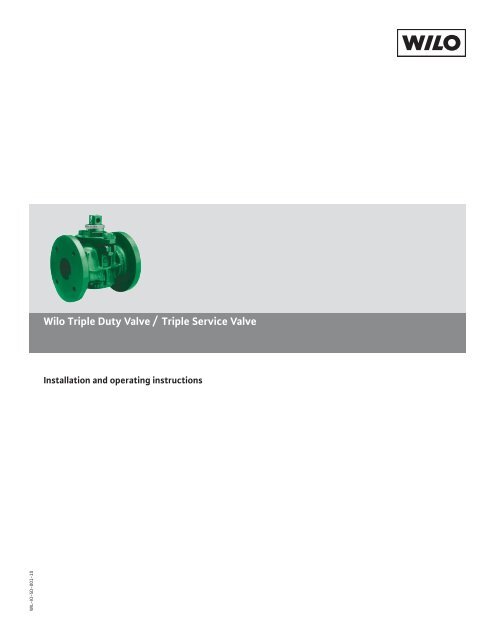
Wilo Triple Duty Valve / Triple Service Valve - Wilo Canada Inc.
Wilo Triple Duty Valve / Triple Service Valve - Wilo Canada Inc.
Wilo Triple Duty Valve / Triple Service Valve - Wilo Canada Inc.
- No tags were found...

Create successful ePaper yourself
Turn your PDF publications into a flip-book with our unique Google optimized e-Paper software.
1 DescriptionThe <strong>Triple</strong> <strong>Duty</strong> <strong>Valve</strong> (TDV) / <strong>Triple</strong> <strong>Service</strong> <strong>Valve</strong> (TSV) is a quiet operatingheavy-duty valve which performs all of the functions normally required onthe discharge side of Hydronic System Pumps.The valve serves as a flow regulator and positive shut-off valve as neededfor zoned pumping, parallel and standby pumping, and condenser waterapplications.3. Install with the equivalent of at least 10 diameters of straight pipe, sizedto the TDV/TSV valve, upstream of the valve and the equivalent of at least 5diameters of pipe downstream of the TDV/TSV valve.4. Once a flow rate has been set, adjust the memory stop located on thestem of the TDV/TSV valve (see figure below for memory stop illustrationand on tag attached to valve for adjustment instructions). The memory stopallows the valve to be closed and re-opened to the same balance position.The valve’s compact size helps to reduce space requirements while havingmultiple convenient connections for guages.2 Safety InstructionsSafety InstructionsThis safety alert symbol will be used in this manual andon the pump safety instruction decals to draw attentionto safety related instructions. When used the safetyalert symbol means ATTENTION! BECOME ALERT! YOURSAFETY IS INVOLVED! FAILURE TO FOLLOW THE IN-STRUCTIONS MAY RESULT IN A SAFETY HAZARD.3 Operational LimitsMaximum Working Pressure:175 psi (12 bar) standardMaximum operating Temperature:250°F (121°C)4 Installation Instructions1. Mount 1 1/2” through 8” valves in a vertical up or horizontal positionwith flow in the direction of the flow arrow which is cast on the side of eachvalve. Mount 10” through 12” valves in vertical position only.5 Flow Meter Operation1. Remove caps from the metering connections at the HI and LO pressuretaps.2. Connect the high pressure hose (red) of the pressure gage to the HIpressure connection on the TDV/TSV valve and the low pressure hose(blue) to the LO pressure connection. Note: Hose ends require valvedepressors to be connected. If valve depressor is not visible in hose endcheck opposite end of hose. Metering connection valves are openedautomatically as the hose end is screwed on.3. Prepare the pressure gauge as per instructions in the gauge kit.4. The flow can be determined by reading the pressure indicated at thegauge, noting the valve opening from the plug position indicator and calibratedplate and transferring this data to a flow chart.IMPORTANT: If system balancing at less than 50%stem rise and this is the primary balance valve, ASHRAEStandard 90.1 and <strong>Wilo</strong> recommend trimming the impellerto the necessary system design flow. This will reduceelectrical energy consumption and comply with theNational Energy Building Code Standard.IMPORTANT: To avoid noise problems and possibledamage to TDV/TSV valve, do not exceed 25 feet [7,6 m]of pressure drop across TDV/TSV valve.Proper system installation. Note: Arrow indicates direction of flowCAUTION: Potential <strong>Triple</strong> <strong>Duty</strong> <strong>Valve</strong> DamageImproper valve orientation can cause damage to the<strong>Triple</strong> <strong>Duty</strong> <strong>Valve</strong> itself or improper system operation.Failure to follow this instruction can result in propertydamage and/or moderate personal injury.2. Install valve in a location which allows easy access to operating wrenchand flow meter connections.5. When flow readings are complete, follow directions supplied with thepressure gauge.6. Replace metal caps on the metering connectors of the TDV/TSV valve.6 TDV/TSV Design and OperationThe principle of operation for the TDV/TSV valve is extremely simple. Whenin the open position, the clapper swings out of the flow. If the flow stops,the spring allows the clapper to close. When closing the valve, a final“bumping” action with a wrench gives the final positive seal closure.2 WIL-IO-SD001-10
<strong>Wilo</strong> USA LLC1290 N 25th AveMelrose Park, IL 60160Tel: 866-945-6872Fax: 708-338-9455Email: info@wilo-usa.comWeb: www.wilo-usa.com<strong>Wilo</strong> <strong>Canada</strong> <strong>Inc</strong>.Bay 7-2915 10th Ave NECalgary, AB T2A 5L4Tel: 866-945-6236Fax: 403-277-9456Email: info@wilo-canada.comWeb: www.wilo-canada.com