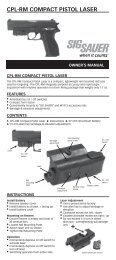
WARNING! Please read and understand this owner's ... - Sig Sauer
WARNING! Please read and understand this owner's ... - Sig Sauer
WARNING! Please read and understand this owner's ... - Sig Sauer
- No tags were found...

Create successful ePaper yourself
Turn your PDF publications into a flip-book with our unique Google optimized e-Paper software.
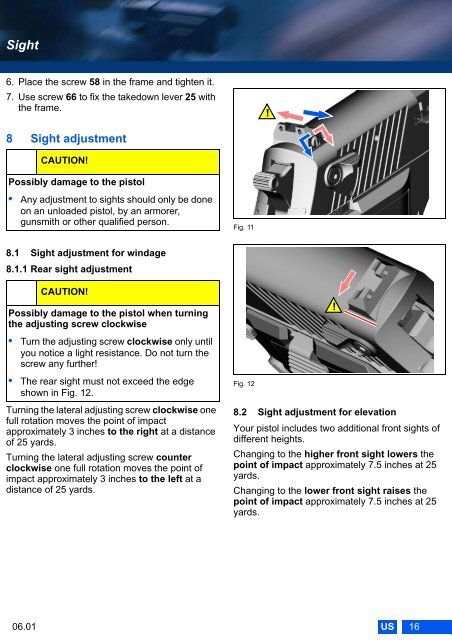
<strong>Sig</strong>ht6. Place the screw 58 in the frame <strong>and</strong> tighten it.7. Use screw 66 to fix the takedown lever 25 withthe frame.!8 <strong>Sig</strong>ht adjustmentCAUTION!Possibly damage to the pistol• Any adjustment to sights should only be doneon an unloaded pistol, by an armorer,gunsmith or other qualified person.Fig. 118.1 <strong>Sig</strong>ht adjustment for windage8.1.1 Rear sight adjustmentCAUTION!Possibly damage to the pistol when turningthe adjusting screw clockwise• Turn the adjusting screw clockwise only untilyou notice a light resistance. Do not turn thescrew any further!• The rear sight must not exceed the edgeshown in Fig. 12.Turning the lateral adjusting screw clockwise onefull rotation moves the point of impactapproximately 3 inches to the right at a distanceof 25 yards.Turning the lateral adjusting screw counterclockwise one full rotation moves the point ofimpact approximately 3 inches to the left at adistance of 25 yards.Fig. 12!8.2 <strong>Sig</strong>ht adjustment for elevationYour pistol includes two additional front sights ofdifferent heights.Changing to the higher front sight lowers thepoint of impact approximately 7.5 inches at 25yards.Changing to the lower front sight raises thepoint of impact approximately 7.5 inches at 25yards.06.01US16