install a ceramic tile floor - Lowe's
install a ceramic tile floor - Lowe's
install a ceramic tile floor - Lowe's

Create successful ePaper yourself
Turn your PDF publications into a flip-book with our unique Google optimized e-Paper software.
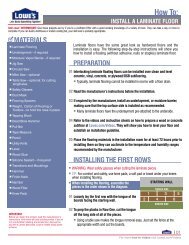
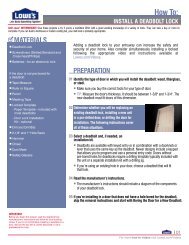
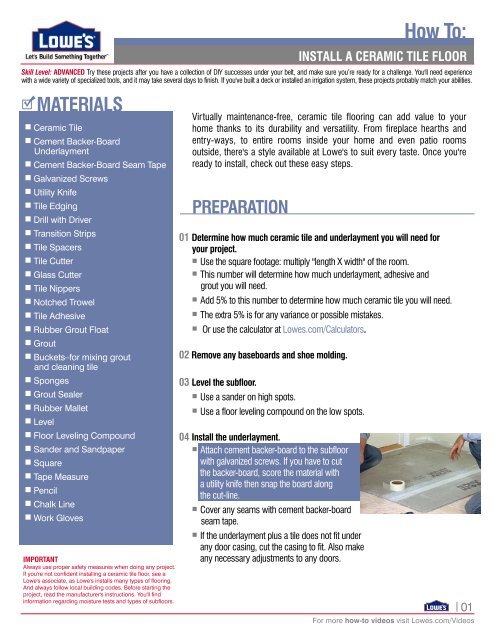
MATERIALS• Ceramic Tile• Cement Backer-BoardUnderlayment• Cement Backer-Board Seam Tape• Galvanized Screws• Utility Knife• Tile Edging• Drill with Driver• Transition Strips• Tile Spacers• Tile Cutter• Glass Cutter• Tile Nippers• Notched Trowel• Tile Adhesive• Rubber Grout Float• Grout• Buckets–for mixing groutand cleaning <strong>tile</strong>• Sponges• Grout Sealer• Rubber Mallet• Level• Floor Leveling Compound• Sander and Sandpaper• Square• Tape Measure• Pencil• Chalk Line• Work GlovesIMPORTANTAlways use proper safety measures when doing any project.If you're not confident <strong>install</strong>ing a <strong>ceramic</strong> <strong>tile</strong> <strong>floor</strong>, see a<strong>Lowe's</strong> associate, as <strong>Lowe's</strong> <strong>install</strong>s many types of <strong>floor</strong>ing.And always follow local building codes. Before starting theproject, read the manufacturer's instructions. You'll findinformation regarding moisture tests and types of sub<strong>floor</strong>s.How To:INSTALL A CERAMIC TILE FLOORSkill Level: ADVANCED Try these projects after you have a collection of DIY successes under your belt, and make sure you’re ready for a challenge. You'll need experiencewith a wide variety of specialized tools, and it may take several days to finish. If you've built a deck or <strong>install</strong>ed an irrigation system, these projects probably match your abilities.Virtually maintenance-free, <strong>ceramic</strong> <strong>tile</strong> <strong>floor</strong>ing can add value to yourhome thanks to its durability and versatility. From fireplace hearths andentry-ways, to entire rooms inside your home and even patio roomsoutside, there's a style available at <strong>Lowe's</strong> to suit every taste. Once you'reready to <strong>install</strong>, check out these easy steps.PREPARATION01 Determine how much <strong>ceramic</strong> <strong>tile</strong> and underlayment you will need foryour project.•Use the square footage: multiply "length X width" of the room.•This number will determine how much underlayment, adhesive andgrout you will need.•Add 5% to this number to determine how much <strong>ceramic</strong> <strong>tile</strong> you will need.•The extra 5% is for any variance or possible mistakes.• Or use the calculator at Lowes.com/Calculators.02 Remove any baseboards and shoe molding.03 Level the sub<strong>floor</strong>.•Use a sander on high spots.•Use a <strong>floor</strong> leveling compound on the low spots.04 Install the underlayment.•Attach cement backer-board to the sub<strong>floor</strong>with galvanized screws. If you have to cutthe backer-board, score the material witha utility knife then snap the board alongthe cut-line.•Cover any seams with cement backer-boardseam tape.•If the underlayment plus a <strong>tile</strong> does not fit underany door casing, cut the casing to fit. Also makeany necessary adjustments to any doors.01For more how-to videos visit Lowes.com/Videos
How To:INSTALL A CERAMIC TILE FLOORPREPARATION (cont.)05 Draw reference lines for laying the <strong>tile</strong>.•Mark the center of two opposing walls.•Snap a chalkline between these marks.•Do the same thing for the other two walls, forming a cross in the middle of the room.These lines are the reference lines.•Make sure the intersection is square.•Loose lay the <strong>tile</strong> along each of the reference lines. Use <strong>tile</strong> spacers for a more accuratefitting. Maintain about ¼” expansion gap between the perimeter <strong>tile</strong>s and walls.•If the dry layout leaves less than half a <strong>tile</strong>’s width at the walls, adjust the reference linesso there are equal <strong>tile</strong>s on each side.•Pick up the <strong>tile</strong>s once the reference lines are set.•If you’re working in a large area, it may be helpful to mark a grid of 3’ squares on the <strong>floor</strong>. It’seasier to work in smaller sections so necessary adjustments can be made as you lay the <strong>tile</strong>.•For an entry-way, a grid may not be needed. Lay the <strong>tile</strong> so the pattern appears visually pleasing.Adjust the layout so full <strong>tile</strong>s are near the center of the room and cut <strong>tile</strong>s are against the wall.06 Spread the adhesive with the smooth side of the trowel. Make sure it covers the areaevenly and does not cover your reference lines.•Once the adhesive is down, comb over it with the notched side of the trowel at a 45° angle.- Comb over the adhesive in one direction, not a swirl pattern.- Remove any excess with the trowel.•If you are working on an entry-way, spread the adhesive along the edges and slide <strong>tile</strong>edging into the mastic. The adhesive will hold the metal edging strips.LAYING THE TILE01 Working along the reference lines, set the <strong>tile</strong> in place. It's a good idea to mix <strong>tile</strong> fromdifferent boxes to account for any slight difference in color between packages.•Lightly press and twist the <strong>ceramic</strong> when setting to make sure the adhesive sticks. Don'tpush so hard that the adhesive is forced out from under the <strong>ceramic</strong>.•Periodically, lift a <strong>tile</strong> square to make sure the adhesive is sticking. If it isn't adhering to the <strong>tile</strong>,"butter-back" the adhesive on the <strong>tile</strong> or use a larger notched trowel to comb the adhesive.•If any of the adhesive gets on the <strong>tile</strong> face, wipe clean with a wet sponge.•Use spacers to separate the <strong>tile</strong>s.02 Once a row is in place, level the <strong>tile</strong> with a rubber mallet and level.02For more how-to videos visit Lowes.com/Videos