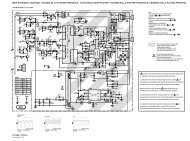
SV-210_211_213_215_2.. - Page de test
SV-210_211_213_215_2.. - Page de test
SV-210_211_213_215_2.. - Page de test

You also want an ePaper? Increase the reach of your titles
YUMPU automatically turns print PDFs into web optimized ePapers that Google loves.
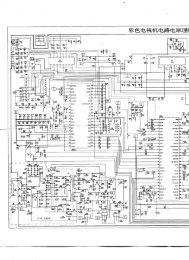
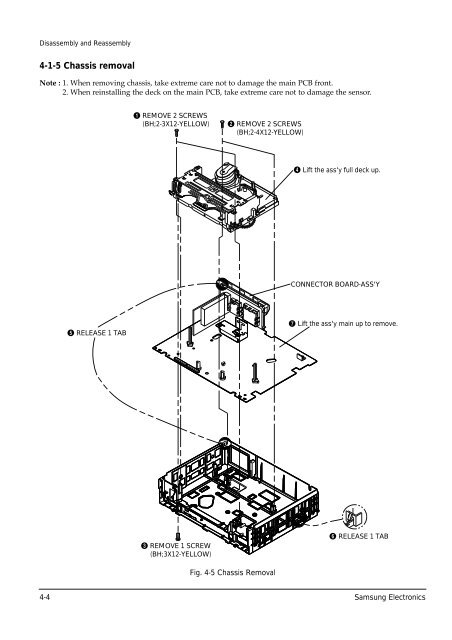
Disassembly and Reassembly4-1-5 Chassis removalNote : 1. When removing chassis, take extreme care not to damage the main PCB front.<strong>2.</strong> When reinstalling the <strong>de</strong>ck on the main PCB, take extreme care not to damage the sensor.Œ REMOVE 2 SCREWS(BH;2-3X12-YELLOW)´ REMOVE 2 SCREWS(BH;2-4X12-YELLOW)¨ Lift the ass'y full <strong>de</strong>ck up.CONNECTOR BOARD-ASS'Yˆ RELEASE 1 TAB∏ Lift the ass'y main up to remove.ˇ REMOVE 1 SCREW(BH;3X12-YELLOW)Ø RELEASE 1 TABFig. 4-5 Chassis Removal4-4 Samsung Electronics