SV-210_211_213_215_2.. - Page de test
SV-210_211_213_215_2.. - Page de test
SV-210_211_213_215_2.. - Page de test
You also want an ePaper? Increase the reach of your titles
YUMPU automatically turns print PDFs into web optimized ePapers that Google loves.
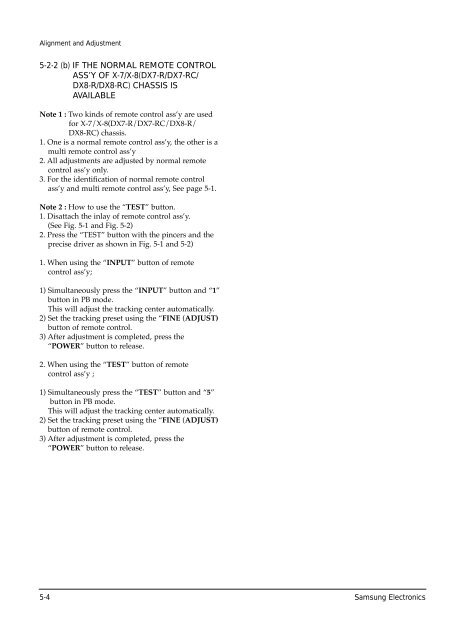
Alignment and Adjustment5-2-2 (b) IF THE NORMAL REMOTE CONTROLASS’Y OF X-7/X-8(DX7-R/DX7-RC/DX8-R/DX8-RC) CHASSIS ISAVAILABLENote 1 : Two kinds of remote control assÕy are usedfor X-7/X-8(DX7-R/DX7-RC/DX8-R/DX8-RC) chassis.1. One is a normal remote control assÕy, the other is amulti remote control assÕy<strong>2.</strong> All adjustments are adjusted by normal remotecontrol assÕy only.3. For the i<strong>de</strong>ntification of normal remote controlassÕy and multi remote control assÕy, See page 5-1.Note 2 : How to use the ÒTESTÓ button.1. Disattach the inlay of remote control assÕy.(See Fig. 5-1 and Fig. 5-2)<strong>2.</strong> Press the ÒTESTÓ button with the pincers and theprecise driver as shown in Fig. 5-1 and 5-2)1. When using the ÒINPUTÓ button of remotecontrol assÕy;1) Simultaneously press the ÒINPUTÓ button and Ò1Óbutton in PB mo<strong>de</strong>.This will adjust the tracking center automatically.2) Set the tracking preset using the ÒFINE (ADJUST)button of remote control.3) After adjustment is completed, press theÒPOWERÓ button to release.<strong>2.</strong> When using the ÒTESTÓ button of remotecontrol assÕy ;1) Simultaneously press the ÒTESTÓ button and Ò5Óbutton in PB mo<strong>de</strong>.This will adjust the tracking center automatically.2) Set the tracking preset using the ÒFINE (ADJUST)button of remote control.3) After adjustment is completed, press theÒPOWERÓ button to release.5-4 Samsung Electronics


