ME02R96 Owner's Manual - Yamaha Commercial Audio
ME02R96 Owner's Manual - Yamaha Commercial Audio
ME02R96 Owner's Manual - Yamaha Commercial Audio

Create successful ePaper yourself
Turn your PDF publications into a flip-book with our unique Google optimized e-Paper software.
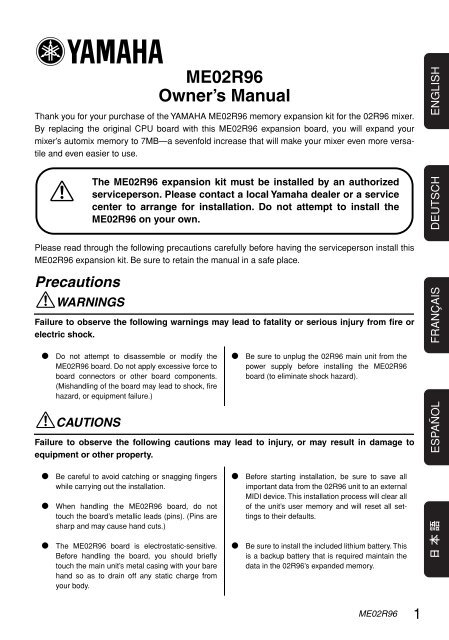
● Install the <strong>ME02R96</strong> Expansion KitENGLISH~The following instructions are intended for use by authorized servicepersonsonly.~This kit is not user-installable. Users should contact a local<strong>Yamaha</strong> dealer or a service center to arrange for installation by a<strong>Yamaha</strong>-authorized serviceperson.Detach and Raise the Control PanelWhen removing each screw, note its location and be sure to return it to the same place when reassembling.Screws come in various sizes and are not interchangeable.1. Turn off the 02R96 power switch, and unplug the 02R96 power cord from the power supply.2. If SP02R96 side panels are installed on the 02R96, remove both of these panels (one from theleft, and the other from the right). To remove each panel, remove 6 screws as shown below(for a total of 12 screws).For more information about SP02R96 side panels, refer to the 02R96 owner’s manual.02R96SP02R96(Side Panel)6 Screws4 <strong>ME02R96</strong>
ENGLISH4. Remove the screws indicated in the illustration below: 7 screws from the left side, 7 screwsfrom the right side, 7 screws from the front, and 7 screws (or 5 screws, if 2 were alreadyremoved at Step 3) from the rear.PositioningScrew7 ScrewsPositioningScrewPositioningScrewLCD7 Screws7 ScrewsPositioningScrew7 Screws5. Hold onto the LCD, and lift up the rear of the control panel.LCD6. Secure the raised control panel in place, so that it does not fall back down.6 <strong>ME02R96</strong>
CPU4 ScrewsENGLISHLithium BatteryInstall the <strong>ME02R96</strong> Expansion Board and the Battery1. Disconnect the 2 flat cables from the connectorson the CPU board.The cables are connected to white connectors.Before disconnecting each cable, pull the connectorlatch up as shown in the illustration.2. Remove the 4 screws holding the CPU board in place, and remove the CPU board.3. Mount the <strong>ME02R96</strong> board.Flat CableLatchConnect the two black connectors on the underside of the <strong>ME02R96</strong> board to the two blackconnectors on the 02R96. Then fasten the <strong>ME02R96</strong> into place using 4 screws (the 4 screwsyou removed above, or the 4 screws included in the kit).When installing the expansion board, you can use either these 4 screws or else the 4 screws includedin the kit. If you reuse these original screws, you will not need the screws in the kit.4. Reconnect the 2 flat cables.To reconnect: Push the latch down, then insert the cable so that the red line on the cable isaligned with the ▼ mark on the board.5. Install the supplied lithium battery. This is a backup battery that is required to maintain data inthe 02R96 unit’s expanded memory.<strong>ME02R96</strong>7
Reattach the Control PanelENGLISH1. Lower the control panel back into place. Then refasten with the original screws, in the followingorder: front panel first, then the sides, and then the rear. When fastening each panel, alwaysfasten the positioning screw first (see illustrations on page 6 above).Before screwing in the control panel, check to make sure that you have not left any loose screws ortools inside the 02R96 casing. Loose objects left in the casing may cause damage to the equipment.2. If applicable: Reinstall the MB02R96 peak meter bridge and/or the SP02R96 side panels byreversing the removal procedures given on page 4 and 5 above.● Restoring the Saved 02R96 DataIf you saved the 02R96 data to an external MIDI device as described on page 3 above, you can nowrestore that data as follows.1. After completing the kit installation, turn on the 02R96 power. The start-up screen displays themessage MEMORY EXPANDED.2. Press the DISPLAY ACCESS [MIDI] key to open the Bulk Dump page.3. Set the CATEGORY to ALL, select the REQUEST button, and then press the [ENTER] key.It is not possible to load automix data that exceeds the mixer’s automix memory capacity (7MB withthe <strong>ME02R96</strong> installed; 1MB if it is not installed). If you attempt to load such data, the 02R96 will displayan appropriate message and will execute the load. Any data already existing in the 02R96 willremain unchanged.● Kit Contents<strong>ME02R96</strong> Expansion BoardLithium battery4 Screws<strong>ME02R96</strong> Owner’s <strong>Manual</strong> (this booklet)CD-ROM (Studio Manager)European modelsPurchaser/User Information specified in EN55103-1 and EN55103-2.Conforms to Environments: E1, E2, E3 and E48 <strong>ME02R96</strong><strong>Yamaha</strong> <strong>Manual</strong> Libraryhttp://www2.yamaha.co.jp/manual/english/