
You also want an ePaper? Increase the reach of your titles
YUMPU automatically turns print PDFs into web optimized ePapers that Google loves.
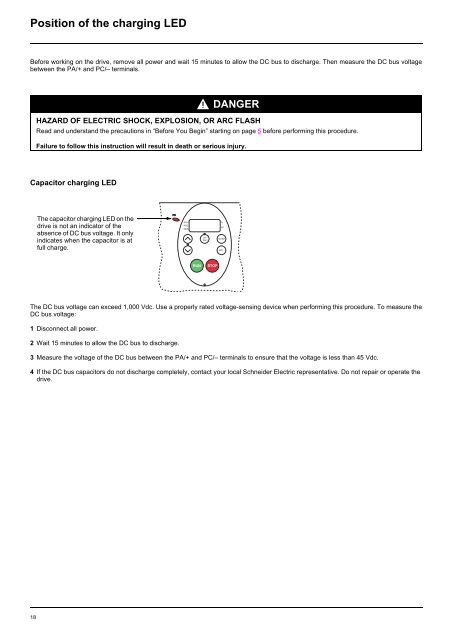
Position of the charging LEDBefore working on the drive, remove all power and wait 15 minutes to allow the DC bus to discharge. Then measure the DC bus voltagebetween the PA/+ and PC/– terminals.DANGERHAZARD OF ELECTRIC SHOCK, EXPLOSION, OR ARC FLASHRead and understand the precautions in “Before You Begin” starting on page 5 before performing this procedure.Failure to follow this instruction will result in death or serious injury.Capacitor charging LEDThe capacitor charging LED on thedrive is not an indicator of theabsence of DC bus voltage. It onlyindicates when the capacitor is atfull charge.RUNPRGMONLocRem%HzMODEENTRUNSTOPThe DC bus voltage can exceed 1,000 Vdc. Use a properly rated voltage-sensing device when performing this procedure. To measure theDC bus voltage:1 Disconnect all power.2 Wait 15 minutes to allow the DC bus to discharge.3 Measure the voltage of the DC bus between the PA/+ and PC/– terminals to ensure that the voltage is less than 45 Vdc.4 If the DC bus capacitors do not discharge completely, contact your local <strong>Schneider</strong> <strong>Electric</strong> representative. Do not repair or operate thedrive.18