User´s Guide Installation Guide Level Indicator ... - Müller Elektronik
User´s Guide Installation Guide Level Indicator ... - Müller Elektronik
User´s Guide Installation Guide Level Indicator ... - Müller Elektronik
You also want an ePaper? Increase the reach of your titles
YUMPU automatically turns print PDFs into web optimized ePapers that Google loves.
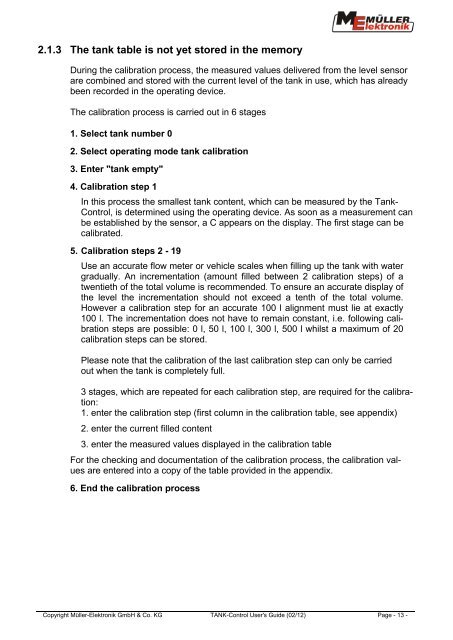
2.1.3 The tank table is not yet stored in the memory<br />
During the calibration process, the measured values delivered from the level sensor<br />
are combined and stored with the current level of the tank in use, which has already<br />
been recorded in the operating device.<br />
The calibration process is carried out in 6 stages<br />
1. Select tank number 0<br />
2. Select operating mode tank calibration<br />
3. Enter "tank empty"<br />
4. Calibration step 1<br />
In this process the smallest tank content, which can be measured by the Tank-<br />
Control, is determined using the operating device. As soon as a measurement can<br />
be established by the sensor, a C appears on the display. The first stage can be<br />
calibrated.<br />
5. Calibration steps 2 - 19<br />
Use an accurate flow meter or vehicle scales when filling up the tank with water<br />
gradually. An incrementation (amount filled between 2 calibration steps) of a<br />
twentieth of the total volume is recommended. To ensure an accurate display of<br />
the level the incrementation should not exceed a tenth of the total volume.<br />
However a calibration step for an accurate 100 l alignment must lie at exactly<br />
100 l. The incrementation does not have to remain constant, i.e. following calibration<br />
steps are possible: 0 l, 50 l, 100 l, 300 l, 500 l whilst a maximum of 20<br />
calibration steps can be stored.<br />
Please note that the calibration of the last calibration step can only be carried<br />
out when the tank is completely full.<br />
3 stages, which are repeated for each calibration step, are required for the calibration:<br />
1. enter the calibration step (first column in the calibration table, see appendix)<br />
2. enter the current filled content<br />
3. enter the measured values displayed in the calibration table<br />
For the checking and documentation of the calibration process, the calibration values<br />
are entered into a copy of the table provided in the appendix.<br />
6. End the calibration process<br />
Copyright <strong>Müller</strong>-<strong>Elektronik</strong> GmbH & Co. KG TANK-Control User's <strong>Guide</strong> (02/12) Page - 13 -


