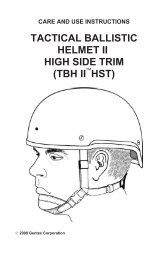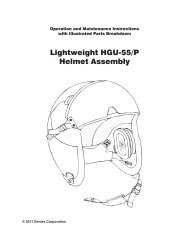
(pm halo) helmet assembly - Gentex Corporation
(pm halo) helmet assembly - Gentex Corporation
(pm halo) helmet assembly - Gentex Corporation

Create successful ePaper yourself
Turn your PDF publications into a flip-book with our unique Google optimized e-Paper software.
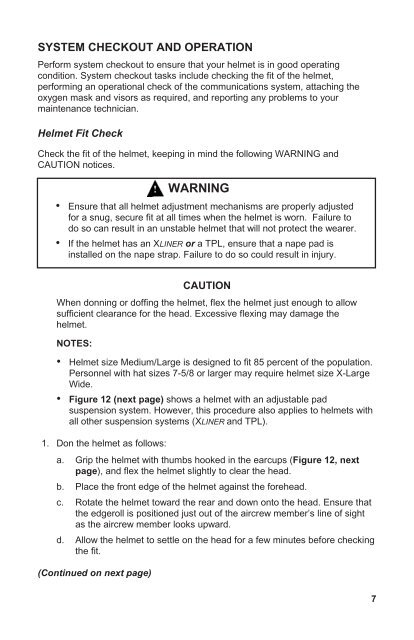
SYSTEM CHECKOUT AND OPERATIONPerform system checkout to ensure that your <strong>helmet</strong> is in good operatingcondition. System checkout tasks include checking the fit of the <strong>helmet</strong>,performing an operational check of the communications system, attaching theoxygen mask and visors as required, and reporting any problems to yourmaintenance technician.Helmet Fit CheckCheck the fit of the <strong>helmet</strong>, keeping in mind the following WARNING andCAUTION notices.WARNING• Ensure that all <strong>helmet</strong> adjustment mechanisms are properly adjustedfor a snug, secure fit at all times when the <strong>helmet</strong> is worn. Failure todo so can result in an unstable <strong>helmet</strong> that will not protect the wearer.• If the <strong>helmet</strong> has an XLINER or a TPL, ensure that a nape pad isinstalled on the nape strap. Failure to do so could result in injury.CAUTIONWhen donning or doffing the <strong>helmet</strong>, flex the <strong>helmet</strong> just enough to allowsufficient clearance for the head. Excessive flexing may damage the<strong>helmet</strong>.NOTES:• Helmet size Medium/Large is designed to fit 85 percent of the population.Personnel with hat sizes 7-5/8 or larger may require <strong>helmet</strong> size X-LargeWide.• Figure 12 (next page) shows a <strong>helmet</strong> with an adjustable padsuspension system. However, this procedure also applies to <strong>helmet</strong>s withall other suspension systems (XLINER and TPL).1. Don the <strong>helmet</strong> as follows:a. Grip the <strong>helmet</strong> with thumbs hooked in the earcups (Figure 12, nextpage), and flex the <strong>helmet</strong> slightly to clear the head.b. Place the front edge of the <strong>helmet</strong> against the forehead.c. Rotate the <strong>helmet</strong> toward the rear and down onto the head. Ensure thatthe edgeroll is positioned just out of the aircrew member’s line of sightas the aircrew member looks upward.d. Allow the <strong>helmet</strong> to settle on the head for a few minutes before checkingthe fit.(Continued on next page)7