Tiger Spas
2003 - All Seasons Spa
2003 - All Seasons Spa

You also want an ePaper? Increase the reach of your titles
YUMPU automatically turns print PDFs into web optimized ePapers that Google loves.
INSTALLATION INSTRUCTIONS<br />
SITE PREPARATION<br />
You probably have a spot picked out for your new spa, whether it’s indoors or outdoors, on a patio or on a<br />
deck. Just make sure you check the following:<br />
• Always put your spa on a structurally sound, level surface. A filled spa can weigh a great deal. Make<br />
certain that the location you choose can support the weight of your filled spa.<br />
• Don’t forget to level your spa before filling it. (See Spa Leveling Instructions.)<br />
• Locate your equipment compartment, which houses all of the electrical components, in a place where<br />
water drainage will be away from it. Do not allow water into the equipment compartment. Water can cause<br />
damage to the electronics, or may trip the circuit breaker on your house’s electrical panel.<br />
• Leave yourself easy access to the circuit breakers in the subpanel (230 volt models), or to the interrupter<br />
switch on the end of the power cord (115 volt models).<br />
• Never let water get into the subpanel (230 volt models), into the interrupter switch (115 volt models), or<br />
into the electrical outlet that your spa is plugged into. Your 115 volt <strong>Tiger</strong> River ® spa comes with a<br />
protective box designed to keep out rain and water from sprinkler systems. Your 230 volt spa’s subpanel<br />
is rain-tight when installed correctly with the door closed. Periodically check these conditions and correct<br />
any flaws if detected.<br />
• Leave access to the equipment compartment for periodic spa care and maintenance.<br />
• Your spa is equipped with an air-intake screen located between the base of the equipment compartment<br />
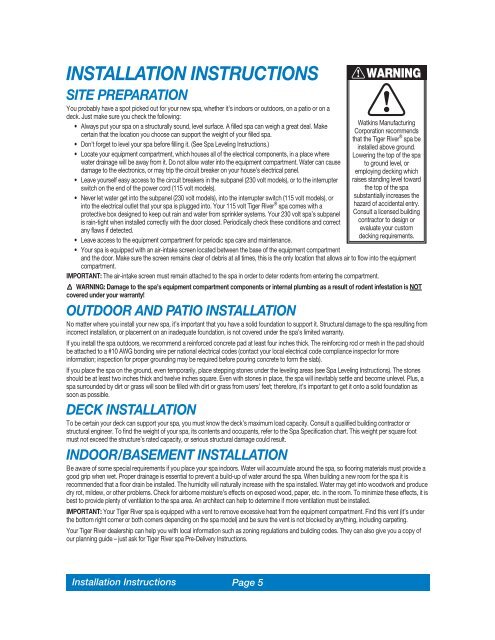
WARNING<br />
Watkins Manufacturing<br />
Corporation recommends<br />
that the <strong>Tiger</strong> River ® spa be<br />
installed above ground.<br />
Lowering the top of the spa<br />
to ground level, or<br />
employing decking which<br />
raises standing level toward<br />
the top of the spa<br />
substantially increases the<br />
hazard of accidental entry.<br />
Consult a licensed building<br />
contractor to design or<br />
evaluate your custom<br />
decking requirements.<br />
and the door. Make sure the screen remains clear of debris at all times, this is the only location that allows air to flow into the equipment<br />
compartment.<br />
IMPORTANT: The air-intake screen must remain attached to the spa in order to deter rodents from entering the compartment.<br />
WARNING: Damage to the spa’s equipment compartment components or internal plumbing as a result of rodent infestation is NOT<br />
covered under your warranty!<br />
OUTDOOR AND PATIO INSTALLATION<br />
No matter where you install your new spa, it’s important that you have a solid foundation to support it. Structural damage to the spa resulting from<br />
incorrect installation, or placement on an inadequate foundation, is not covered under the spa’s limited warranty.<br />
If you install the spa outdoors, we recommend a reinforced concrete pad at least four inches thick. The reinforcing rod or mesh in the pad should<br />
be attached to a #10 AWG bonding wire per national electrical codes (contact your local electrical code compliance inspector for more<br />
information; inspection for proper grounding may be required before pouring concrete to form the slab).<br />
If you place the spa on the ground, even temporarily, place stepping stones under the leveling areas (see Spa Leveling Instructions). The stones<br />
should be at least two inches thick and twelve inches square. Even with stones in place, the spa will inevitably settle and become unlevel. Plus, a<br />
spa surrounded by dirt or grass will soon be filled with dirt or grass from users’ feet; therefore, it’s important to get it onto a solid foundation as<br />
soon as possible.<br />
DECK INSTALLATION<br />
To be certain your deck can support your spa, you must know the deck’s maximum load capacity. Consult a qualified building contractor or<br />
structural engineer. To find the weight of your spa, its contents and occupants, refer to the Spa Specification chart. This weight per square foot<br />
must not exceed the structure’s rated capacity, or serious structural damage could result.<br />
INDOOR/BASEMENT INSTALLATION<br />
Be aware of some special requirements if you place your spa indoors. Water will accumulate around the spa, so flooring materials must provide a<br />
good grip when wet. Proper drainage is essential to prevent a build-up of water around the spa. When building a new room for the spa it is<br />
recommended that a floor drain be installed. The humidity will naturally increase with the spa installed. Water may get into woodwork and produce<br />
dry rot, mildew, or other problems. Check for airborne moisture’s effects on exposed wood, paper, etc. in the room. To minimize these effects, it is<br />
best to provide plenty of ventilation to the spa area. An architect can help to determine if more ventilation must be installed.<br />
IMPORTANT: Your <strong>Tiger</strong> River spa is equipped with a vent to remove excessive heat from the equipment compartment. Find this vent (it’s under<br />
the bottom right corner or both corners depending on the spa model) and be sure the vent is not blocked by anything, including carpeting.<br />
Your <strong>Tiger</strong> River dealership can help you with local information such as zoning regulations and building codes. They can also give you a copy of<br />
our planning guide – just ask for <strong>Tiger</strong> River spa Pre-Delivery Instructions.<br />
Installation Instructions<br />
Page 5