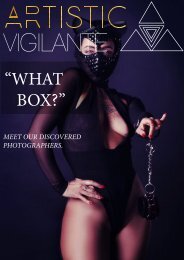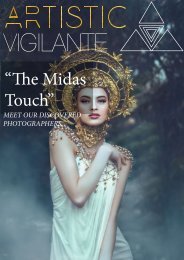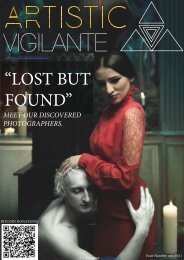
artistic vigilante volume 1,issue 2 ''The imagination took us everywhere''
Artistic vigilante second edition,we have discovered some amazing photographers all over the world and bring to you a curation of the breath taking works from these artist. please be sure to follow them on social media and support them. ''The Imagination took us everywhere''
Artistic vigilante second edition,we have discovered some amazing photographers all over the world and bring to you a curation of the breath taking works from these artist. please be sure to follow them on social media and support them. ''The Imagination took us everywhere''

Create successful ePaper yourself
Turn your PDF publications into a flip-book with our unique Google optimized e-Paper software.
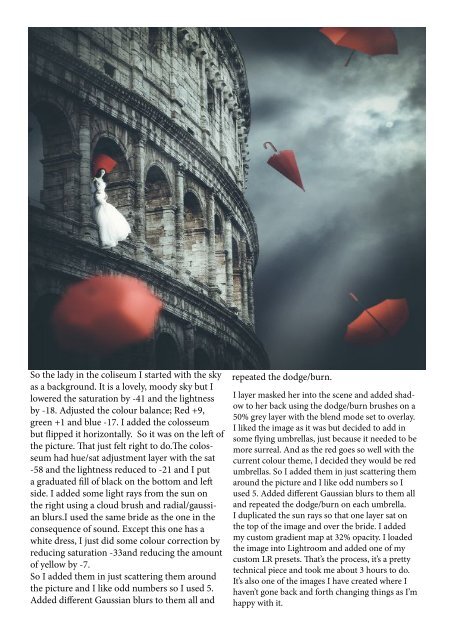
So the lady in the coliseum I started with the sky<br />
as a background. It is a lovely, moody sky but I<br />
lowered the saturation by -41 and the lightness<br />
by -18. Adj<strong>us</strong>ted the colour balance; Red +9,<br />
green +1 and blue -17. I added the colosseum<br />
but flipped it horizontally. So it was on the left of<br />
the picture. That j<strong>us</strong>t felt right to do.The colosseum<br />
had hue/sat adj<strong>us</strong>tment layer with the sat<br />
-58 and the lightness reduced to -21 and I put<br />
a graduated fill of black on the bottom and left<br />
side. I added some light rays from the sun on<br />
the right <strong>us</strong>ing a cloud br<strong>us</strong>h and radial/ga<strong>us</strong>sian<br />
blurs.I <strong>us</strong>ed the same bride as the one in the<br />
consequence of sound. Except this one has a<br />
white dress, I j<strong>us</strong>t did some colour correction by<br />
reducing saturation -33and reducing the amount<br />
of yellow by -7.<br />
So I added them in j<strong>us</strong>t scattering them around<br />
the picture and I like odd numbers so I <strong>us</strong>ed 5.<br />
Added different Ga<strong>us</strong>sian blurs to them all and<br />
repeated the dodge/burn.<br />
I layer masked her into the scene and added shadow<br />
to her back <strong>us</strong>ing the dodge/burn br<strong>us</strong>hes on a<br />
50% grey layer with the blend mode set to overlay.<br />
I liked the image as it was but decided to add in<br />
some flying umbrellas, j<strong>us</strong>t beca<strong>us</strong>e it needed to be<br />
more surreal. And as the red goes so well with the<br />
current colour theme, I decided they would be red<br />
umbrellas. So I added them in j<strong>us</strong>t scattering them<br />
around the picture and I like odd numbers so I<br />
<strong>us</strong>ed 5. Added different Ga<strong>us</strong>sian blurs to them all<br />
and repeated the dodge/burn on each umbrella.<br />
I duplicated the sun rays so that one layer sat on<br />
the top of the image and over the bride. I added<br />
my c<strong>us</strong>tom gradient map at 32% opacity. I loaded<br />
the image into Lightroom and added one of my<br />
c<strong>us</strong>tom LR presets. That’s the process, it’s a pretty<br />
technical piece and <strong>took</strong> me about 3 hours to do.<br />
It’s also one of the images I have created where I<br />
haven’t gone back and forth changing things as I’m<br />
happy with it.