You also want an ePaper? Increase the reach of your titles
YUMPU automatically turns print PDFs into web optimized ePapers that Google loves.
<strong>Operator</strong> Usage <strong>Guide</strong><br />
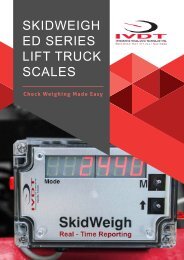
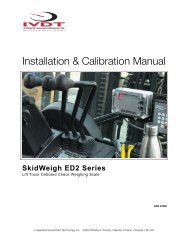
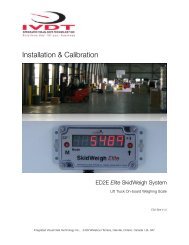
<strong>ED2</strong> <strong>SkidWeigh</strong> Series<br />
Load Add Button<br />
Accumulative<br />
Load Weight<br />
Total and Print<br />
Onboard Printer<br />
<strong>ED2</strong> <strong>SkidWeigh</strong> Series<br />
• Turn on ignition switch<br />
• With LED display will show software version for the moment and mode will indicate<br />
number 8 which is the starting point to initiate load weight cycle<br />
(Loaded forks must be lowered to ground, no pressure in lift hydraulic circuit for the system to show Mode 8)<br />
Insert the forks into the pallet or product to be weighed<br />
• Lower the loaded forks to the ground.<br />
• With LED display showing number 8 in Mode, lift load just above the ground<br />
• Do not manipulate the tilt, side shifter or move vehicle during the weighing cycle<br />
• Lift the load approx. 2” off the ground using the hydraulic lift lever same as during<br />
normal usage. Do not use lift lever by lifting load “slowly”.<br />
• Within few seconds load weight will be indicated on LED display.<br />
Note: During the normal vehicle usage the LED display might show “0” or some other load<br />
weight which is due to the hydraulic “spikes”. To initiate a load weighing cycle you must lower<br />
loaded forks to the ground and LED must show number 8 in Mode window.<br />
PAGE ! 1 OF ! 2
Accumulative Load Weight Function<br />
• With LED display showing load weight, press “Black button” to start accumulating loads<br />
• With last load weight lifted and shown on LED display by pressing “RED button” all individual<br />
loads and total load weight will be shown.<br />
If the onboard Bluetooth printer is used than all individual load weights and total will be printed<br />
Overload Indication<br />
• The <strong>ED2</strong><strong>SkidWeigh</strong> series with optional overload warning will automatically show on LED<br />
display the overload load value and display will “flash”. The audio / visual warning will be<br />
activated to warn the operator of such condition. To stop the overload visual / audio overload<br />
warning operator must lower the load to the ground.<br />
Two Independent Weighing Channels<br />
Two Weighing Channels Switch<br />
Channel 1 (showing Mode 8 on LED display)<br />
Channel 2 (showing Mode 82 on LED display)<br />
• Use external mounted switch to utilize the two independent weighing channels function.<br />
Example: Standard forks and long forks weighing application<br />
Note: Weighing channel one is shown as a Mode 8 and second is shown as Mode 82.<br />
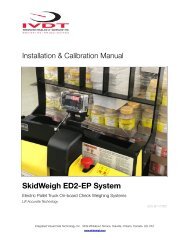
Electric Pallet Truck Weighing Function (<strong>ED2</strong>-EP Skidweigh Series)<br />
• Turn on power switch (<strong>ED2</strong>-EP only). Insert forks into the load and lower it to the ground.<br />
Power On / Off Switch<br />
The LED display must show Mode 8.<br />
• Activate and hold vehicle lift control until lifting cylinder is automatically stopped<br />
• Weighing cycle will start, the LED display will go “blank” for the moment and load weight will<br />
be shown. As soon the load weight is shown the lift motor motion control is disabled<br />
• Lift cylinder motion control will go back to normal operational mode<br />
Note: During normal operation where weighing function is not required turn the indicator<br />
power switch ON /OFF to off position. (The <strong>ED2</strong>E-EP system will be turned off)<br />
INTEGRATED VISUAL DATA TECHNOLOGY INC.<br />
3439 Whilabout Terrace, Oakville, Ontario, L6L 0A7 Canada<br />
Phone: 905-469-0985 Fax: 905-825-9494 skidweigh.com<br />
PAGE ! 2 OF ! 2<br />
VER. FLS3-2