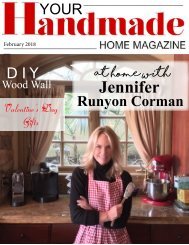
March 2018 YHH Mag
Farmhouse Decor and Design magazine filled with DIY projects, thoughtful articles and artisan handmade goods. Subscribe for free at yourhandmadehome.com
Farmhouse Decor and Design magazine filled with DIY projects, thoughtful articles and artisan handmade goods. Subscribe for free at yourhandmadehome.com

Create successful ePaper yourself
Turn your PDF publications into a flip-book with our unique Google optimized e-Paper software.
For the longest time, I had been debating about whether or not to paint<br />
the long bench we use as a coffee table in our family room. I really liked<br />
the contrast of dark woods and whites, but I finally grew a little tired of<br />
the dark scruffy look of the bench. I had heard about a painting technique<br />
which used Elmers Glue to get an “old” crackled paint finish. So I<br />
thought, why not use my bench as a guinea pig and try it out!<br />
I used DIY chalk paint (3 parts paint, 1 part Plaster of Paris and water<br />
mixture) and Elmers Glue for this project. That’s it! It is really a super<br />
easy process.<br />
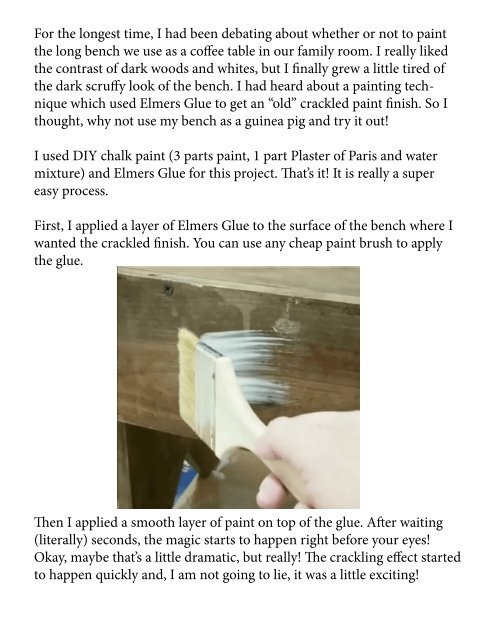
First, I applied a layer of Elmers Glue to the surface of the bench where I<br />
wanted the crackled finish. You can use any cheap paint brush to apply<br />
the glue.<br />
Then I applied a smooth layer of paint on top of the glue. After waiting<br />
(literally) seconds, the magic starts to happen right before your eyes!<br />
Okay, maybe that’s a little dramatic, but really! The crackling effect started<br />
to happen quickly and, I am not going to lie, it was a little exciting!<br />
It did take me a bit of time to figure out how thick each layer should be<br />
and when to apply it. The first area that Ipainted did crackle, but at the bottom<br />
of the crackled area, the paint just ran down. I didn’t wipe off the runs.<br />
I just let them dry and continued with the rest of the painting. Through<br />
trial and error, I did improve my technique to avoid the runny paint look,<br />
and after the bench had completely dried, I used sandpaper to take off the<br />
runny lines. It took just a couple of minutes and you couldn’t tell that they<br />
were ever there.<br />
Now, here’s what I learned about this process to avoid any painting flaws,<br />
including the runny paint problem. After applying a good amount of the<br />
glue to an area, wait a minute or two to give the glue time to get tacky. Run<br />
your brush over it a time or two to feel the consistency to make sure it’s<br />
tacky. Then, paint a layer of your chalk paint over the glue. But beware--<br />
you don’t have a lot of time to brush paint over the glue before it turns into<br />
a gummy mess! So, be ready to apply your paint over the glue in just a few<br />
brush strokes and you won’t have a problem.