NZPhotographer Issue 45, July 2021
As of December 2022, NZPhotographer magazine is only available when you purchase an annual or monthly subscription via the NZP website. Find out more: www.nzphotographer.nz
As of December 2022, NZPhotographer magazine is only available when you purchase an annual or monthly subscription via the NZP website. Find out more: www.nzphotographer.nz
You also want an ePaper? Increase the reach of your titles
YUMPU automatically turns print PDFs into web optimized ePapers that Google loves.
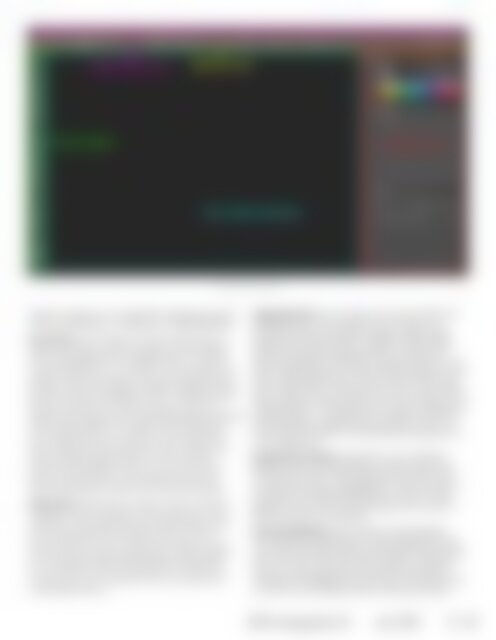
Parts of the workspace<br />
remove a panel, you can reset the workspace back to<br />
what it was (Window -> Workspace -> Reset Essentials).<br />
Tools Panel: This is where you’ll find all the tools you<br />
need to be able to edit. This panel actually displays<br />
only a small selection of available tools – it can be<br />
overwhelming but, as you learn, you’ll be glad of the<br />
range. Luckily, the people at Adobe realise learning<br />
the tools can be a struggle so they’ve added a great<br />
feature: hovering the mouse over any tool in the<br />
toolbar will pop up a small, animated graphic showing<br />
what it does. Helpful! You might not have identical<br />
icons displayed on your screen to the screenshots<br />
shown here and that’s because most of these tools<br />
have a hidden range which you can access by<br />
clicking and holding on the icon until a sub-menu<br />
pops up. Whichever tool you select from the sub<br />
menu replaces the current icon in the tools panel.<br />
Options Bar: Whenever you select a tool, you’ll see<br />
a range of options appear in the options bar. This is<br />
where you can adjust and fine-tune whatever tool<br />
you’ve selected to do precisely what you want.<br />
Almost every tool has a unique set of options, piling<br />
on the already overwhelming heap of information.<br />
You can get by without knowing much about this<br />
to start with, but it is important once you get more<br />
comfortable with Ps.<br />
Application Bar: The top menus are found within the<br />
application bar. This is where you can open and<br />
save files, edit and transform images, make image<br />
adjustments (destructively), create and alter layers,<br />
edit type, alter and refine selections, choose and<br />
apply image filters, render 3D, change the layout and<br />
view, manage plugins, customise the workspace, and<br />
find Ps help. Again, there’s a lot to take in from these<br />
menu options, but you’ll find that you use some all the<br />
time and ignore others entirely. Ps wasn’t made just for<br />
editing photos – it is widely used by graphic designers,<br />
web developers, digital artists, and many more – so<br />
lots of what it contains can (thankfully) be ignored by<br />
us photographers.<br />
Panel Dock & Panels: Panels allow you to perform<br />
different tasks, edit adjustments, and fine-tune tools.<br />
The Window menu in the application bar allows you<br />
to open new panels. Depending on what you select,<br />
the panels can appear differently, as shown in the<br />
graphic on the top of the next page which uses the<br />
Brushes panel as an example.<br />
Document Window: This is where your file appears<br />
once opened. Multiple files can be opened and you<br />
can switch between them by selecting the document<br />
tab at the top of the document window. Clicking on<br />
the x on a document tab will close the document.<br />
Clicking and dragging the document will make it pop<br />
out into its own floating window rather than being<br />
<strong>NZPhotographer</strong><br />
<strong>July</strong> <strong>2021</strong><br />
47


