NZPhotographer Issue 45, July 2021
As of December 2022, NZPhotographer magazine is only available when you purchase an annual or monthly subscription via the NZP website. Find out more: www.nzphotographer.nz
As of December 2022, NZPhotographer magazine is only available when you purchase an annual or monthly subscription via the NZP website. Find out more: www.nzphotographer.nz
You also want an ePaper? Increase the reach of your titles
YUMPU automatically turns print PDFs into web optimized ePapers that Google loves.
HISTORY<br />
If you’ve been playing around in Ps and you’ve made<br />
some mistakes. Edit -> Undo (whatever you last did)<br />
will always be available to you but there’s a faster<br />
keyboard shortcut: Ctrl - Z (Windows) or Command - Z<br />
(Mac). Press both keys together as many times as you<br />
like to undo one step at a time. If you made several<br />
mistakes or want to keep track of what you’ve done<br />
so far, you can use the History panel. This is set by<br />
default to be the top-most icon in the panel dock and<br />
is indicated by a set of 3 cubes with a curved arrow.<br />
Click the icon to see a list of your recent history.<br />
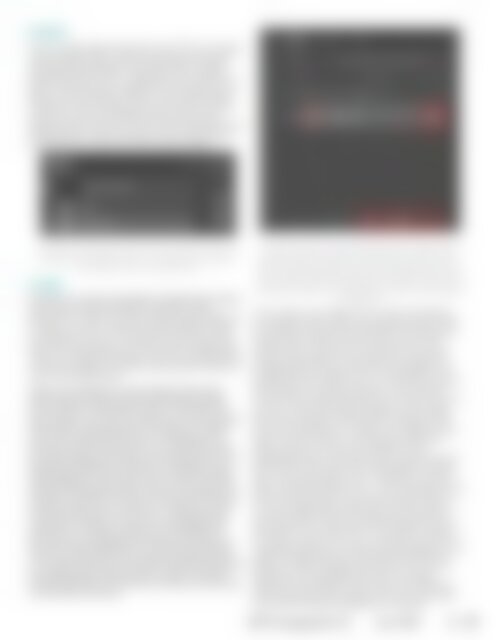
The History panel populates with every action you take in Ps but only<br />
remembers a set number of actions. It is a safety net if you make a<br />
mistake within this set number of actions.<br />
LAYERS<br />
Imagine you have a few sheets of regular plain paper,<br />
each with something different printed on them,<br />
stacked into a pile. You have made the equivalent of<br />
Ps layers. You know there are several sheets of paper<br />
in the pile but you can only see the top sheet. If you<br />
take off the top sheet, you’ll see the one underneath.<br />
That’s how pixel-based layers work (e.g. anything with<br />
a photo or image, or created using a pixel-based tool<br />
such as the paint brush).<br />
Open up an image in Ps and you’ll see it in the Layers<br />
panel. Typically, it will be named the Background layer<br />
and it will have a little padlock next to it. This means the<br />
layer is locked. You can’t do anything much with a locked<br />
layer (options will be greyed out) so unlock it by clicking<br />
once on the padlock and the icon will disappear. The<br />
layer will now be named Layer 0. You can rename layers<br />
by double clicking on the type of the existing name. If you<br />
double click elsewhere on the layer, you’ll get the Layer<br />
Styles dialogue box which allows you to add funky effects<br />
and blending to layers (make a note to have a play with<br />
this later). To the left of the layer name is a small thumbnail<br />
image and left of that is an eye icon. Clicking on this eye<br />
icon will turn the layer on or off so you can see the layer<br />
underneath. Clicking on a layer once will highlight that<br />
layer and you can then use the icons at the bottom of<br />
the Layers panel (highlighted in the following screenshot).<br />
There are usually many ways to do the same thing within<br />
Ps, so I will just talk about my preferred methods for creating<br />
and altering layers using these icons. Again, Ps helpfully<br />
includes information on what the icons are if you hover the<br />
mouse pointer over them.<br />
From right to left; the trash can deletes layers, the + inside a square<br />
creates a new layer, the folder icon groups layers together inside a<br />
folder, the half dark and light circle opens the adjustment layers menu,<br />
and the light rectangle with a dark circle inside creates a layer mask.<br />
The fx icon opens the Layer Styles dialogue box and the chain icon links<br />
multiple layers together so any adjustments made to one layer apply to<br />
all linked layers.<br />
If you open two images into Ps, they will appear<br />
in 2 separate files. Click and drag the layer of the<br />
first image up towards the file tab for the second<br />
image, hold it there until Ps swaps over to the<br />
second tab, then drop the file onto the second<br />
image. Alternatively, copy-paste an image into<br />
an existing Ps document and it will appear as an<br />
additional layer. Either way, you should now have<br />
two images on separate layers in the same file.<br />
Create a new layer using the New Layer icon and<br />
you won’t see anything change on your image<br />
because the layer is blank and transparent until<br />
you put something on it. When you create a new<br />
layer, the new layer is automatically selected<br />
which means you are now working on this<br />
highlighted layer. Add some paint using the paint<br />
brush tool to this layer and it will appear over the<br />
top of the layer below. Don’t like what you did?<br />
Erase it using the eraser tool – only the paint on this<br />
layer will be erased. If you were to paint directly<br />
on your image layer rather than this new layer, it<br />
would be destructively changing the pixels and<br />
the eraser tool would erase your image as well as<br />
the paint you put down on it. The key to working<br />
non-destructively is to never alter the pixels on your<br />
original image layer by instead using additional<br />
layers to make changes and edits. Yes, you can<br />
duplicate your background layer and make<br />
destructive changes to that copy, but there are<br />
several problems with doing it this way (although<br />
many do) including doubling your file size.<br />
<strong>NZPhotographer</strong><br />
<strong>July</strong> <strong>2021</strong><br />
49


