Download e-Magazine (PDF File)
Download e-Magazine (PDF File)
Download e-Magazine (PDF File)

You also want an ePaper? Increase the reach of your titles
YUMPU automatically turns print PDFs into web optimized ePapers that Google loves.
Tips and Tricks from pracTical applicaTions<br />
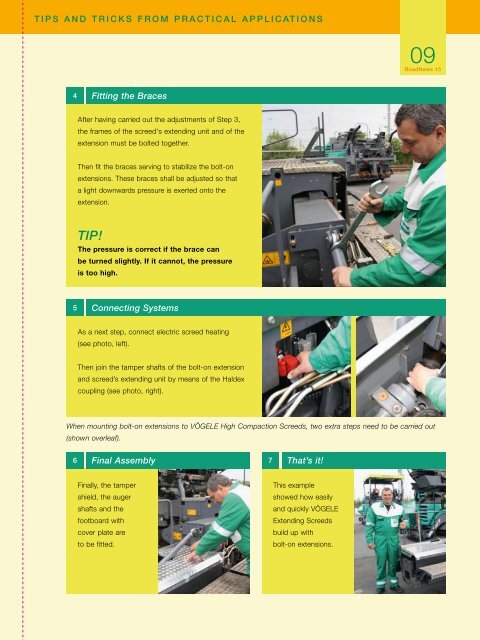
4 Fitting the Braces<br />
5<br />
After having carried out the adjustments of Step 3,<br />
the frames of the screed's extending unit and of the<br />
extension must be bolted together.<br />
Then fit the braces serving to stabilize the bolt-on<br />
extensions. These braces shall be adjusted so that<br />
a light downwards pressure is exerted onto the<br />
extension.<br />
TIP!<br />
The pressure is correct if the brace can<br />
be turned slightly. If it cannot, the pressure<br />
is too high.<br />
Connecting Systems<br />
As a next step, connect electric screed heating<br />
(see photo, left).<br />
Then join the tamper shafts of the bolt-on extension<br />
and screed’s extending unit by means of the Haldex<br />
coupling (see photo, right).<br />
6 Final Assembly 7 That’s it!<br />
Finally, the tamper<br />
shield, the auger<br />
shafts and the<br />
footboard with<br />
cover plate are<br />
to be fitted.<br />
This example<br />
showed how easily<br />
and quickly VÖGELE<br />
Extending Screeds<br />
build up with<br />
bolt-on extensions.<br />
09<br />
roadnews 15<br />
When mounting bolt-on extensions to VÖGELE High Compaction Screeds, two extra steps need to be carried out<br />
(shown overleaf).