Download e-Magazine (PDF File)
Download e-Magazine (PDF File)
Download e-Magazine (PDF File)

Create successful ePaper yourself
Turn your PDF publications into a flip-book with our unique Google optimized e-Paper software.
Tips and Tricks from pracTical applicaTions<br />
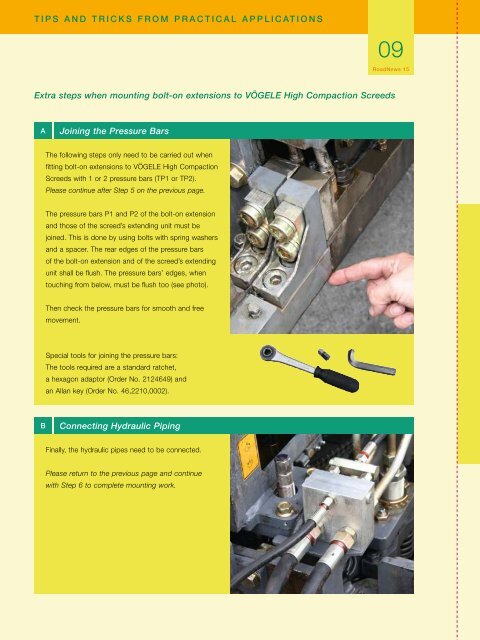
a Joining the Pressure Bars<br />
The following steps only need to be carried out when<br />
fitting bolt-on extensions to VÖGELE High Compaction<br />
Screeds with 1 or 2 pressure bars (TP1 or TP2).<br />
Please continue after Step 5 on the previous page.<br />
The pressure bars P1 and P2 of the bolt-on extension<br />
and those of the screed’s extending unit must be<br />
joined. This is done by using bolts with spring washers<br />
and a spacer. The rear edges of the pressure bars<br />
of the bolt-on extension and of the screed’s extending<br />
unit shall be flush. The pressure bars’ edges, when<br />
touching from below, must be flush too (see photo).<br />
Then check the pressure bars for smooth and free<br />
movement.<br />
Special tools for joining the pressure bars:<br />
The tools required are a standard ratchet,<br />
a hexagon adaptor (Order No. 2124649) and<br />
an Allan key (Order No. 46,2210,0002).<br />
B Connecting Hydraulic Piping<br />
Finally, the hydraulic pipes need to be connected.<br />
Please return to the previous page and continue<br />
with Step 6 to complete mounting work.<br />
09<br />
roadnews 15<br />
Extra steps when mounting bolt-on extensions to VÖGELE High Compaction Screeds