
You also want an ePaper? Increase the reach of your titles
YUMPU automatically turns print PDFs into web optimized ePapers that Google loves.
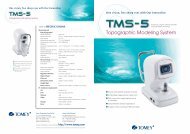
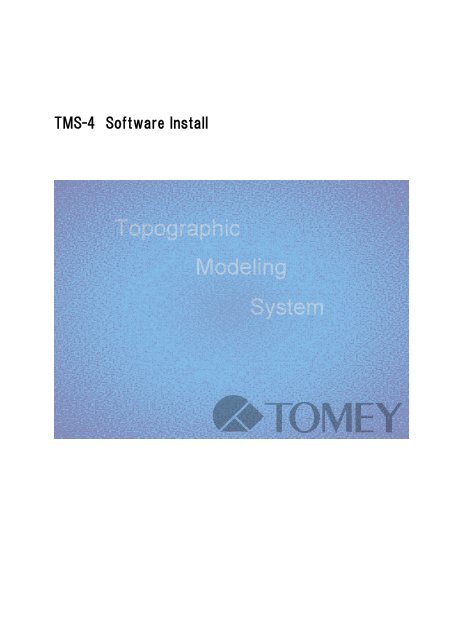
<strong>TMS</strong>-4 <strong>Software</strong> <strong>Install</strong>
System requirements<br />
Operating System: Windows 2000, WindowsXP<br />
CPU: Pentium 600MHz minimum required. 1GHz or higher processor<br />
clock speed recommended.<br />
RAM: 256MB minimum required. 512MB or higher recommended.<br />
HDD: 100MB of available space to install <strong>TMS</strong> software<br />
25GB of available space to store up to 50,000 Exams.<br />
CD-ROM drive: Required to install the <strong>Software</strong> and Calibration data<br />
Parallel Port: ECP supported Parallel port required.<br />
MDAC: The latest version required.<br />
(Microsoft Data Access Components)
Step1:Setup Drivers<br />
<strong>TMS</strong>-4 driver should be installed, prior to installing <strong>TMS</strong> software.<br />
Select your Operating System and follow the instructions.<br />
Windows2000 Go to the next page<br />
This part shows you how to install <strong>TMS</strong> software with Windows 2000.<br />
WindowsXP Go to the page 11<br />
This part shows you how to install <strong>TMS</strong> software with Windows XP<br />
1
Windows2000<br />
1 Start Windows2000 operated PC(Log in as Administartors)<br />
2 Insert <strong>TMS</strong>-4 <strong>Software</strong> CD-ROM onto CD-ROM drive<br />
3 Right click on “MyComputer”, select “Properties” to show the system properties.<br />
2
4 Click on Hardware tab and click Device Manager… to go to Device Manager<br />
3
5 Double Click “Ports (COM & LPT)” and check there is “ECP Printer Port (LPT1)”<br />
Note<br />
-When the port is NOT setup as ECP Printer Port, please refer to the operating<br />
manual of your PC or ask the dealer for help.<br />
-When LPT1 (or the port that is connected with <strong>TMS</strong>-4) is not setup as ECP,<br />
<strong>TMS</strong>-4 does not work normally.<br />
-The Paralell port on your PC may be occupied by normal printer. Though the<br />
printer is connected through <strong>TMS</strong>-4 output port, it is not available to use<br />
<strong>TMS</strong>-4 and printer at the same time.<br />
-Universal Serial Bus (USB) port is recommended to use both <strong>TMS</strong>-4 and<br />
Printer with the same PC<br />
4
6 Double click “ECP Printer Port (LPT1)” and show “Properties<br />
Click UpDate Driver… button in “Driver” tab<br />
Follow the instruction of “Upgrade Device Driver Wizard”. See following instructions with<br />
pictures.<br />
5
① Select<br />
6<br />
Click<br />
② Click
7<br />
Click<br />
Click<br />
Selcet “CD-ROM drive” – “Driver” –<br />
“Windows2000” – “others”
8<br />
Click<br />
Click
Click<br />
9<br />
Click
7 When coming back to “Device Manager”, please make sure that the Ports (COM &<br />
LPT) settings looks like shown above picture.<br />
This is all for the <strong>TMS</strong>-4 driver setup.<br />
Go on to the Step2 <strong>TMS</strong>-4 <strong>Software</strong> <strong>Install</strong><br />
10
WindowsXP<br />
1 Start WindowsXP (Log in as “Administartor”)<br />
2 Insert <strong>TMS</strong>-4 <strong>Software</strong> CD-ROM onto CD-ROM drive<br />
3 Right click on “MyComputer”, select “Properties” to show the system properties.<br />
11
4 Click on Hardware tab and click Device Manager… to go to Device Manager<br />
12
5 Double Click “Ports (COM & LPT)” and check there is “ECP Printer Port (LPT1)”<br />
Note<br />
-When the port is NOT setup as ECP Printer Port, please refer to the operating<br />
manual of your PC or ask the dealer for help.<br />
-When LPT1 (or the port that is connected with <strong>TMS</strong>-4) is not setup as ECP,<br />
<strong>TMS</strong>-4 does not work normally.<br />
-The Paralell port on your PC may be occupied by normal printer. Though the<br />
printer is connected through <strong>TMS</strong>-4 output port, it is not available to use<br />
<strong>TMS</strong>-4 and printer at the same time.<br />
-Universal Serial Bus (USB) port is recommended to use both <strong>TMS</strong>-4 and Printer<br />
with the same PC<br />
13
6 Double click “ECP Printer Port (LPT1)” and show “Properties<br />
Click UpDate Driver… button in “Driver” tab<br />
Follow the instruction of “Upgrade Device Driver Wizard”. See following instructions with<br />
pictures.<br />
14
① Select ② Click<br />
15<br />
② Click<br />
① Select
16<br />
Click<br />
Click
Go to “CD-ROM Drive” - ”Driver” –<br />
“WindowsXP” - “Other”<br />
17<br />
Click
18<br />
Click<br />
Click
19<br />
Click
7 When coming back to “Device Manager”, please make sure that the Ports (COM &<br />
LPT) settings looks like shown above picture.<br />
This is all for the <strong>TMS</strong>-4 driver setup.<br />
Please move on to Step2 <strong>TMS</strong>-4 <strong>Software</strong> <strong>Install</strong><br />
20
Step2:<strong>TMS</strong>-4 <strong>Software</strong> <strong>Install</strong><br />
In this step, <strong>TMS</strong>-4 software will be installed into your PC.<br />
1 “SetupTms.EXE” from CD-ROM included with the product.<br />
21<br />
Click<br />
Click
Click<br />
2 Click “OK” and restart the system, when you are promoted to do so. This process is<br />
important to enable setup with drivers and <strong>TMS</strong> software.<br />
22<br />
Click
Step3:VKS Calibration Table <strong>Install</strong><br />
1, After rebooting Widnows, turn on the <strong>TMS</strong>-4 main switch and wait until the unit<br />
completes initialization. (After completing, the alignment monitor will be into power saving<br />
mode)<br />
2, Select “VKS Table Import” from “Utilities”.<br />
3, Insert <strong>TMS</strong> CD-ROM into CD-ROM Drive and select the drive from above menu. Select<br />
“VKSTBL0.BLK” file from the serial number folder and press “OK”.<br />
This is the end of all Setup<br />
23
ID: 0304<br />
0123