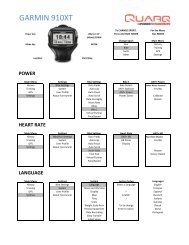
95.6118.003.000 Rev B Copyright ©SRAM LLC, 2012 - Quarq
95.6118.003.000 Rev B Copyright ©SRAM LLC, 2012 - Quarq
95.6118.003.000 Rev B Copyright ©SRAM LLC, 2012 - Quarq

You also want an ePaper? Increase the reach of your titles
YUMPU automatically turns print PDFs into web optimized ePapers that Google loves.
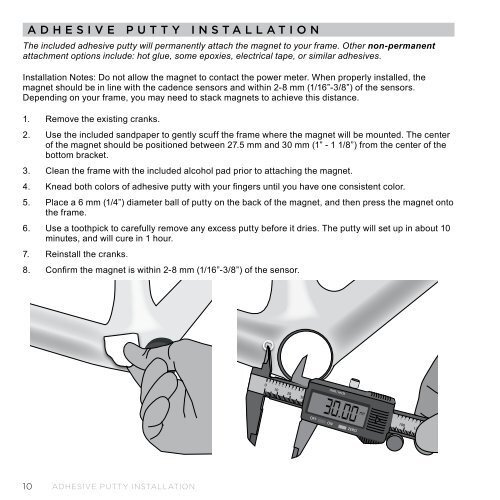
adhesIve putty InstallatIon<br />
The included adhesive putty will permanently attach the magnet to your frame. Other non-permanent<br />
attachment options include: hot glue, some epoxies, electrical tape, or similar adhesives.<br />
Installation Notes: Do not allow the magnet to contact the power meter. When properly installed, the<br />
magnet should be in line with the cadence sensors and within 2-8 mm (1/16”-3/8”) of the sensors.<br />
Depending on your frame, you may need to stack magnets to achieve this distance.<br />
1. Remove the existing cranks.<br />
2. Use the included sandpaper to gently scuff the frame where the magnet will be mounted. The center<br />
of the magnet should be positioned between 27.5 mm and 30 mm (1” - 1 1/8”) from the center of the<br />
bottom bracket.<br />
3. Clean the frame with the included alcohol pad prior to attaching the magnet.<br />
4. Knead both colors of adhesive putty with your fingers until you have one consistent color.<br />
5. Place a 6 mm (1/4”) diameter ball of putty on the back of the magnet, and then press the magnet onto<br />
the frame.<br />
6. Use a toothpick to carefully remove any excess putty before it dries. The putty will set up in about 10<br />
minutes, and will cure in 1 hour.<br />
7. Reinstall the cranks.<br />
8. Confirm the magnet is within 2-8 mm (1/16”-3/8”) of the sensor.<br />
10 Adhesive Putty instAllAtion<br />
0<br />
1 2<br />
3 4 5 6 7 8 9 1 2 3 4<br />
10<br />
20 30 40<br />
mm/inch<br />
OFF ON ZERO<br />
1 2 3 4 5 6<br />
7<br />
100 120<br />
8 9 1 2 3 4<br />
5<br />
130 140