Mise en page 1 - Nania
Mise en page 1 - Nania
Mise en page 1 - Nania

You also want an ePaper? Increase the reach of your titles
YUMPU automatically turns print PDFs into web optimized ePapers that Google loves.
FC0823W-ICA 22/12/09 8:46 Page 6<br />
GB - User guide<br />
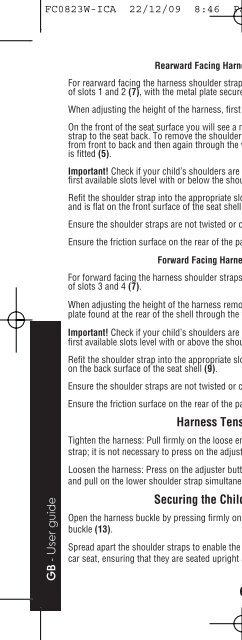
Rearward Facing Harness Adjusting - Group 0<br />
For rearward facing the harness shoulder straps should be fitted only to the lower two sets<br />
of slots 1 and 2 (7), with the metal plate secured to slot 3 (7).<br />
Wh<strong>en</strong> adjusting the height of the harness, first peel back the seat cover (4).<br />
On the front of the seat surface you will see a metal plate in slot 3 securing the shoulder<br />
strap to the seat back. To remove the shoulder strap pass the metal plate through the window<br />
from front to back and th<strong>en</strong> again through the window in which the harness shoulder strap<br />
is fitted (5).<br />
Important! Check if your child’s shoulders are betwe<strong>en</strong> two pairs of slots, always use the<br />
first available slots level with or below the shoulder.<br />
Refit the shoulder strap into the appropriate slot making sure the metal plate is secure in slot 3<br />
and is flat on the front surface of the seat shell (6) (7).<br />
Ensure the shoulder straps are not twisted or crossed over.<br />
Ensure the friction surface on the rear of the pad is against the shoulder.<br />
Forward Facing Harness Adjusting - Group 1<br />
For forward facing the harness shoulder straps should be fitted only to the upper two sets<br />
of slots 3 and 4 (7).<br />
Wh<strong>en</strong> adjusting the height of the harness remove the shoulder straps by passing the metal<br />
plate found at the rear of the shell through the window from back to front (8).<br />
Important! Check if your child’s shoulders are betwe<strong>en</strong> two pairs of slots, always use the<br />
first available slots level with or above the shoulder.<br />
Refit the shoulder strap into the appropriate slot making sure the metal plate is secure and flat<br />
on the back surface of the seat shell (9).<br />
Ensure the shoulder straps are not twisted or crossed over.<br />
Ensure the friction surface on the rear of the pad is against the shoulder.<br />
Harness T<strong>en</strong>sion Adjusting<br />
Tight<strong>en</strong> the harness: Pull firmly on the loose <strong>en</strong>d strap below the adjuster on the shoulder<br />
strap; it is not necessary to press on the adjuster lock (14).<br />
Loos<strong>en</strong> the harness: Press on the adjuster button on the lower edge shoulder strap adjuster<br />
and pull on the lower shoulder strap simultaneously (15).<br />
Securing the Child with the Harness<br />
Op<strong>en</strong> the harness buckle by pressing firmly on the red button (E) in the c<strong>en</strong>tre of the<br />
buckle (13).<br />
Spread apart the shoulder straps to <strong>en</strong>able the child to be installed. Install your child in the<br />
car seat, <strong>en</strong>suring that they are seated upright against the backrest of the car seat.<br />
6<br />
GB - User guide<br />
GB User guide