SUP 035R - Philips
SUP 035R - Philips
SUP 035R - Philips
Create successful ePaper yourself
Turn your PDF publications into a flip-book with our unique Google optimized e-Paper software.
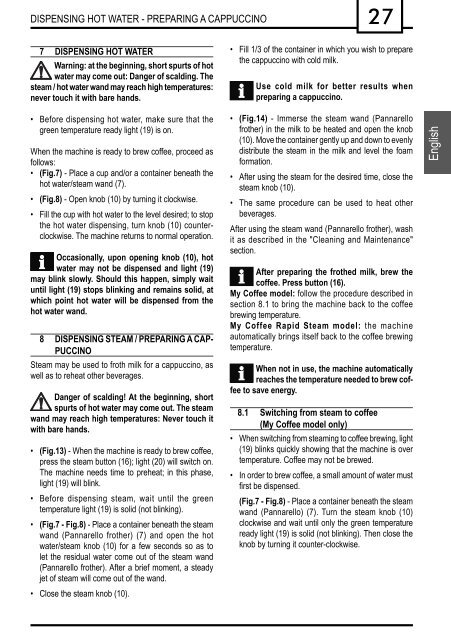
DISPENSING HOT WATER - PREPARING A CAPPUCCINO<br />
7 DISPENSING HOT WATER<br />
Warning: at the beginning, short spurts of hot<br />
water may come out: Danger of scalding. The<br />
steam / hot water wand may reach high temperatures:<br />
never touch it with bare hands.<br />
• Before dispensing hot water, make sure that the<br />
green temperature ready light (19) is on.<br />
When the machine is ready to brew coffee, proceed as<br />
follows:<br />
• (Fig.7) - Place a cup and/or a container beneath the<br />
hot water/steam wand (7).<br />
• (Fig.8) - Open knob (10) by turning it clockwise.<br />
• Fill the cup with hot water to the level desired; to stop<br />
the hot water dispensing, turn knob (10) counterclockwise.<br />
The machine returns to normal operation.<br />
Occasionally, upon opening knob (10), hot<br />
water may not be dispensed and light (19)<br />
may blink slowly. Should this happen, simply wait<br />
until light (19) stops blinking and remains solid, at<br />
which point hot water will be dispensed from the<br />
hot water wand.<br />
8 DISPENSING STEAM / PREPARING A CAP-<br />
PUCCINO<br />
Steam may be used to froth milk for a cappuccino, as<br />
well as to reheat other beverages.<br />
Danger of scalding! At the beginning, short<br />
spurts of hot water may come out. The steam<br />
wand may reach high temperatures: Never touch it<br />
with bare hands.<br />
• (Fig.13) - When the machine is ready to brew coffee,<br />
press the steam button (16); light (20) will switch on.<br />
The machine needs time to preheat; in this phase,<br />
light (19) will blink.<br />
• Before dispensing steam, wait until the green<br />
temperature light (19) is solid (not blinking).<br />
• (Fig.7 - Fig.8) - Place a container beneath the steam<br />
wand (Pannarello frother) (7) and open the hot<br />
water/steam knob (10) for a few seconds so as to<br />
let the residual water come out of the steam wand<br />
(Pannarello frother). After a brief moment, a steady<br />
jet of steam will come out of the wand.<br />
• Close the steam knob (10).<br />
27<br />
• Fill 1/3 of the container in which you wish to prepare<br />
the cappuccino with cold milk.<br />
Use cold milk for better results when<br />
preparing a cappuccino.<br />
• (Fig.14) - Immerse the steam wand (Pannarello<br />
frother) in the milk to be heated and open the knob<br />
(10). Move the container gently up and down to evenly<br />
distribute the steam in the milk and level the foam<br />
formation.<br />
• After using the steam for the desired time, close the<br />
steam knob (10).<br />
• The same procedure can be used to heat other<br />
beverages.<br />
After using the steam wand (Pannarello frother), wash<br />
it as described in the "Cleaning and Maintenance"<br />
section.<br />
After preparing the frothed milk, brew the<br />
coffee. Press button (16).<br />
My Coffee model: follow the procedure described in<br />
section 8.1 to bring the machine back to the coffee<br />
brewing temperature.<br />
My Coffee Rapid Steam model: the machine<br />
automatically brings itself back to the coffee brewing<br />
temperature.<br />
When not in use, the machine automatically<br />
reaches the temperature needed to brew coffee<br />
to save energy.<br />
8.1 Switching from steam to coffee<br />
(My Coffee model only)<br />
• When switching from steaming to coffee brewing, light<br />
(19) blinks quickly showing that the machine is over<br />
temperature. Coffee may not be brewed.<br />
• In order to brew coffee, a small amount of water must<br />
fi rst be dispensed.<br />
(Fig.7 - Fig.8) - Place a container beneath the steam<br />
wand (Pannarello) (7). Turn the steam knob (10)<br />
clockwise and wait until only the green temperature<br />
ready light (19) is solid (not blinking). Then close the<br />
knob by turning it counter-clockwise.<br />
English


